

A carton of milk and a small tub of plain yogurt can become a refrigerator staple, but the thermometer matters more than the ingredient count. If you are learning how to make yogurt at home, start with a modest batch and a dependable way to keep it warm. The reward is a softly set, gently tangy yogurt you can leave plain or dress up by the spoonful.

Homemade yogurt needs pasteurized milk, a live-culture starter, controlled warmth and time to chill. Treat temperature as part of the recipe, not an optional detail.
I would choose whole milk for a first batch because its richness suits a simple bowl without extra sweetening. This version stays unstrained, so expect something softer than thick Greek yogurt. Set aside a day when you can check the temperature, then let the refrigerator finish the job before breakfast.
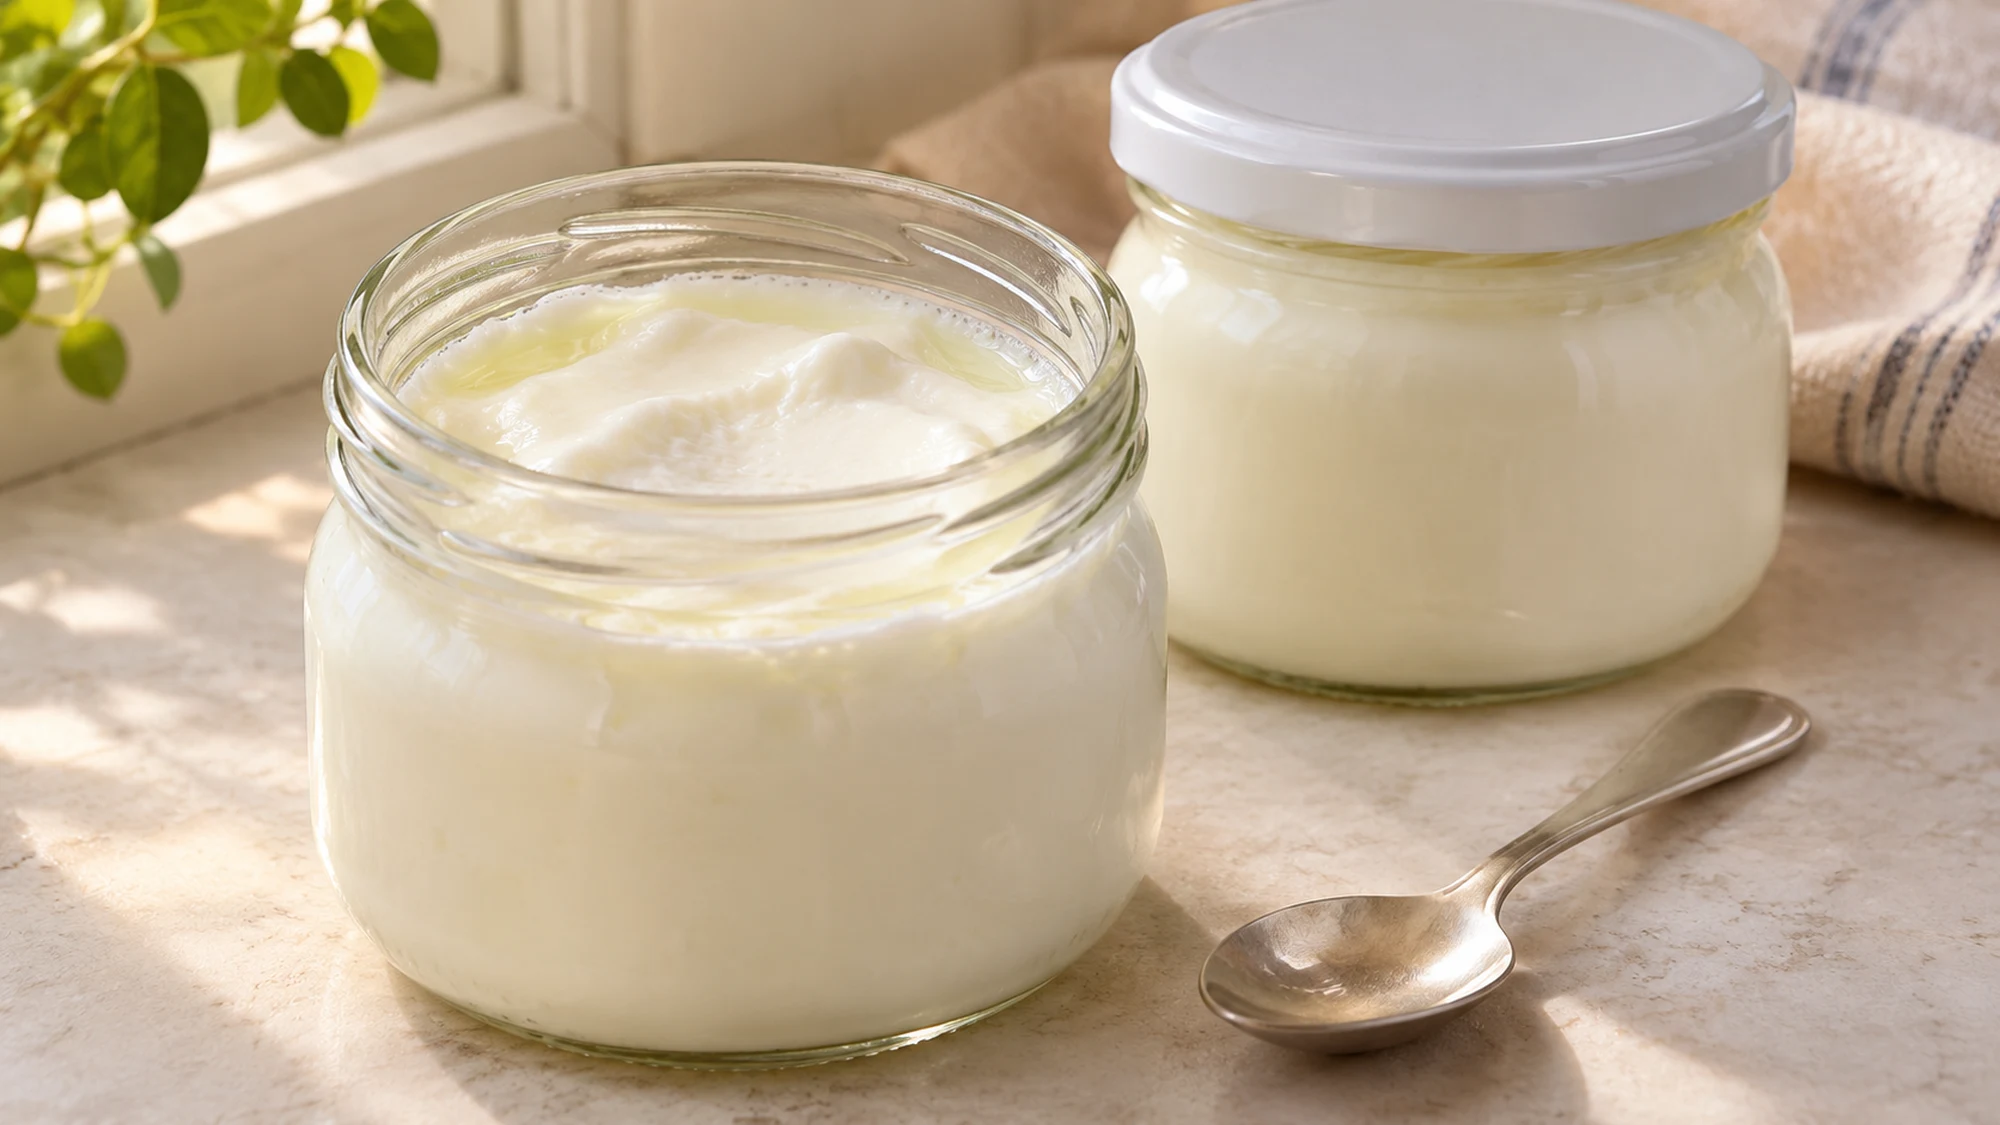
Serving Suggestions After You Learn How to Make Yogurt at Home
Keep the main batch plain and flavor individual portions. That gives one jar several jobs: breakfast, a cool accompaniment to dinner, or a spoonful stirred into a dressing. A little liquid on top can be natural whey; gently stir it back into properly set yogurt if you prefer an even consistency.
- For a fruit bowl, add washed berries or sliced ripe pear just before eating. Keep crunchy granola separate until the last moment.
- For a savory plate, spoon plain yogurt beside roasted vegetables. Season that serving with a little salt and chopped herbs rather than seasoning the entire batch.
- For a thicker dessert base, strain a portion first. Our frozen yogurt bark uses Greek-style yogurt, so thin unstrained yogurt is not a direct texture match.
Use a clean spoon each time and return the covered jar to the refrigerator promptly. I prefer small containers here: it is easier to take out one portion without repeatedly warming the whole batch.
Flavor the serving you are about to eat and keep the rest plain, covered and cold.
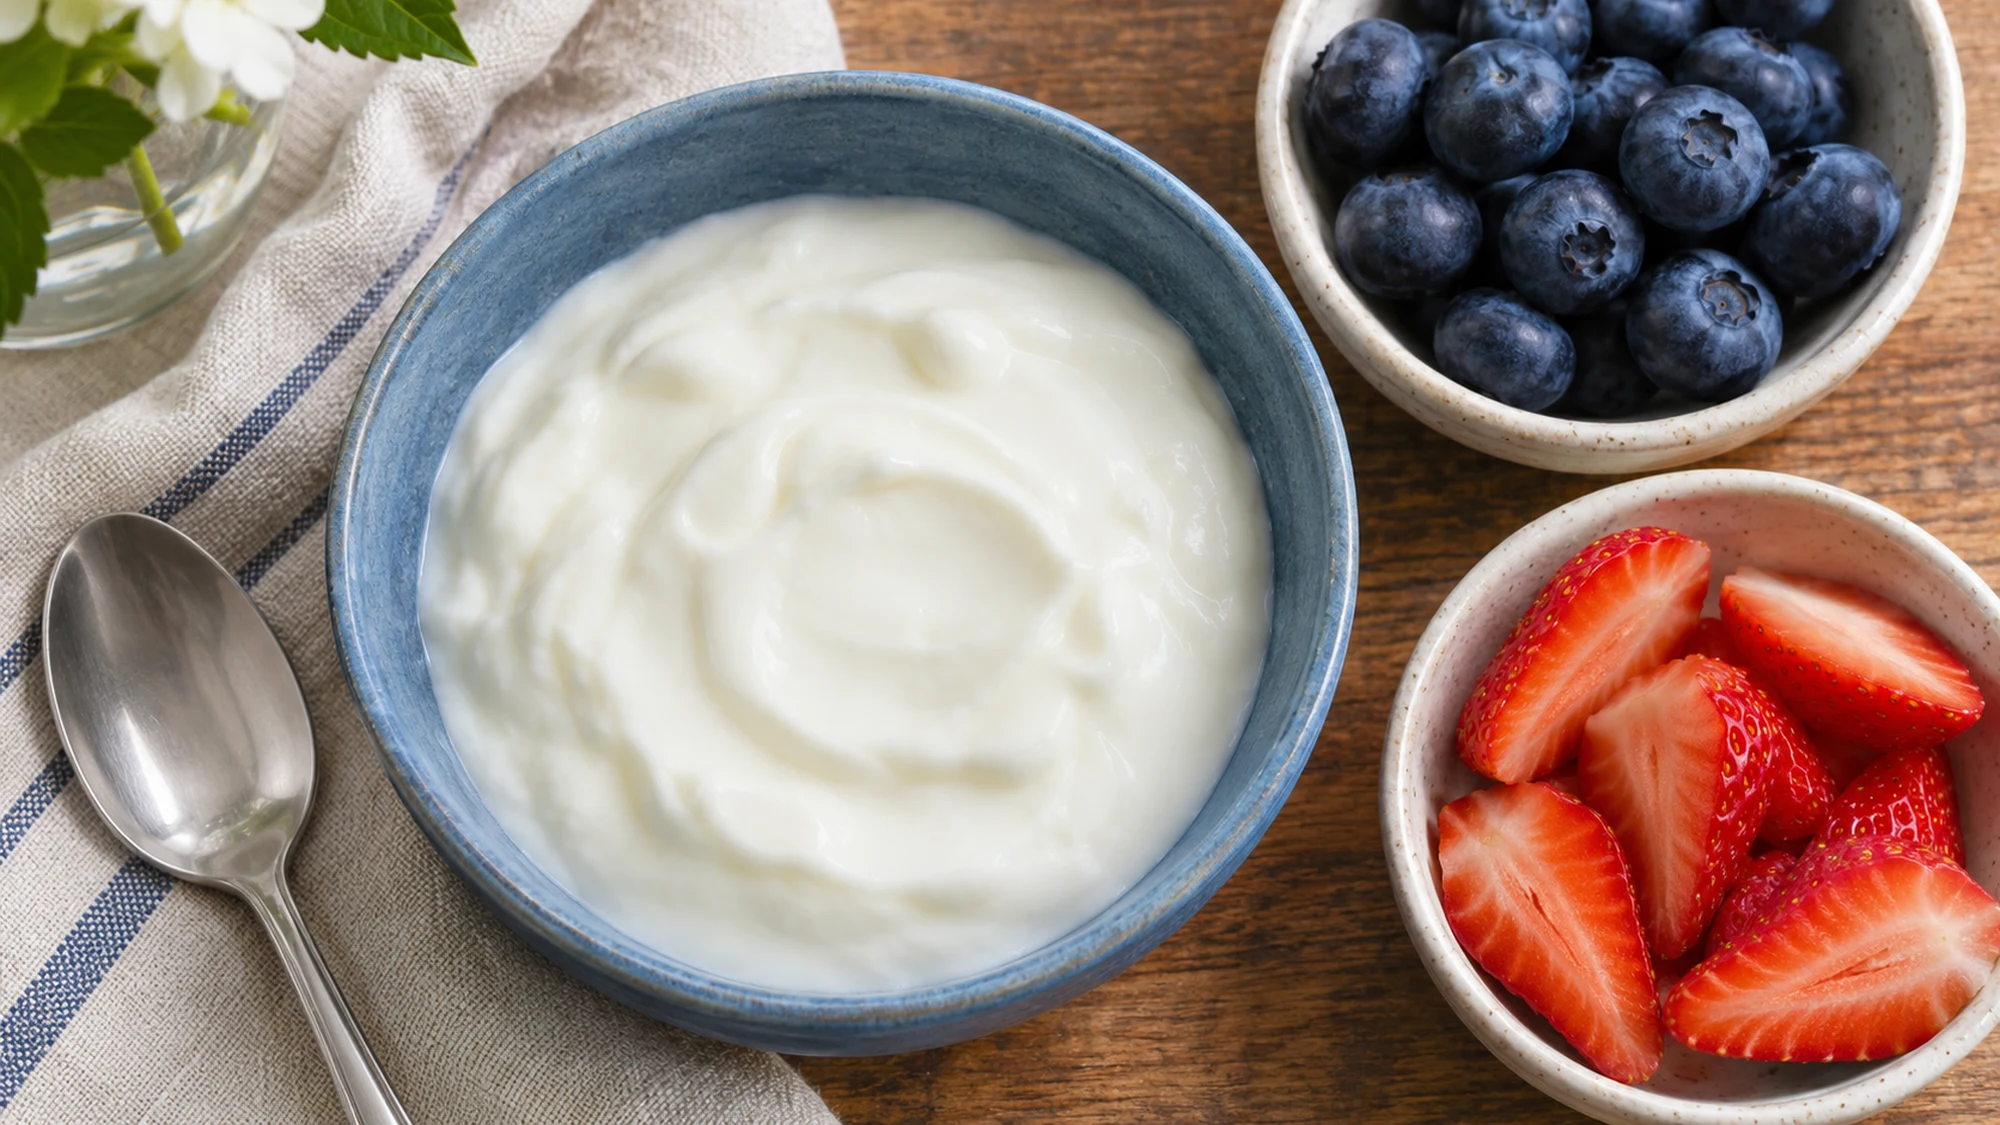
Variations: Change the Texture After Culturing
Choose a fresh plain starter whose label lists live cultures. Sweetened dessert yogurt is not the starting point for this recipe. Heating the milk before adding that starter helps develop the finished texture; the milk-heating and thickening guidance explains why a longer controlled hold can produce a firmer result.
| Choice | What changes | Practical note |
|---|---|---|
| Whole milk | Richer mouthfeel | The base used in this recipe |
| Reduced-fat milk | Less richness | Do not expect identical texture |
| Strained yogurt | Thicker spoonful; lower yield | Drain through clean cloth in the refrigerator |
| Fruit or vanilla | Flavor of the serving | Add after culturing and chilling |
The important distinction is between a softer successful set and milk that never cultured properly. The temperature and troubleshooting guidance recommends discarding failed sets. Do not try to rescue one by hiding it in a smoothie. An oven light is not a temperature guarantee, either; use a controlled yogurt maker and verify its warmth with a thermometer.
Strain a successful batch for thickness; do not use straining to rescue a failed fermentation.

Health Benefits: Keep the Claims Modest
Milk contributes protein and calcium, and this plain recipe adds no sugar. That does not make it sugar-free: milk naturally contains lactose. The card’s nutrition is an estimate for unstrained yogurt, and toppings or draining away whey change what ends up in each serving.
- Think of it as food, not a treatment. Homemade fermentation does not establish a measured probiotic dose or a guaranteed digestive benefit.
- Keep dairy needs in mind. This is not suitable for a milk allergy, and fermentation does not guarantee that it is lactose-free.
- Build the bowl you enjoy. Fruit can add variety, while nuts or seeds bring a different texture; those additions are separate from the base recipe.
The NIH explanation of probiotics distinguishes fermented foods from products with demonstrated strain-specific benefits. Our guide to probiotic claims and their limits takes that distinction further. I would choose this yogurt for its tang and usefulness at the table, rather than a promise printed beside the word “cultures.”
Enjoy the dairy nutrients and flexible flavor, without treating a homemade jar as a guaranteed probiotic supplement.
Bottom Line
Start small, measure the temperatures and chill the finished yogurt thoroughly. Once you have a properly set plain batch, deciding what to put on top is the easy part.
How to Make Yogurt at Home Recipe

Ingredients
- 4 cups pasteurized whole milk 1 quart (946 ml)
- 0.25 cup plain yogurt with live active cultures fresh, unsweetened starter
Equipment
- 2-quart saucepan
- Calibrated food thermometer
- Measuring cups, whisk and small bowl
- Clean heat-safe jars and lids, at least 5 cups total capacity
- Yogurt maker that maintains 110°F (43°C)
- Calibrated food pH meter suitable for yogurt
Instructions
- Wash hands and clean the work area. Wash and sanitize suitable jars, lids and utensils according to their manufacturer’s guidance. Prepare the yogurt maker according to its instructions and verify it can hold 110°F (43°C).
- Warm the milk in the saucepan, stirring frequently. Bring it to 185–200°F (85–93°C), then hold within that range for 10–20 minutes, stirring constantly and avoiding boiling or scorching. Allow about 30 minutes including the initial heating.
- Remove from heat and place the pan in a cold-water bath, keeping water out of the milk. Stir gently until the milk cools to 112–115°F (44–46°C), about 15–30 minutes. Check with the thermometer before adding the starter.
- Whisk a little of the cooled milk into the starter in a clean small bowl. Stir that mixture back into the remaining milk. Divide among prepared jars, leaving headspace, and cover.
- Incubate in the yogurt maker at about 110°F (43°C), monitoring temperature as needed, until set and pH is 4.6 or below, usually 4–8 hours. Follow the pH meter’s food-testing instructions. Do not disturb the jars unnecessarily. Discard a batch that fails to set or acidify properly; do not extend incubation indefinitely.
- Refrigerate immediately once set and properly acidified. Chill at least 4 hours before serving. Keep covered at 40°F (4°C) or below and use within 10 days. Discard if mold or an abnormal odor develops; do not taste to test safety.