
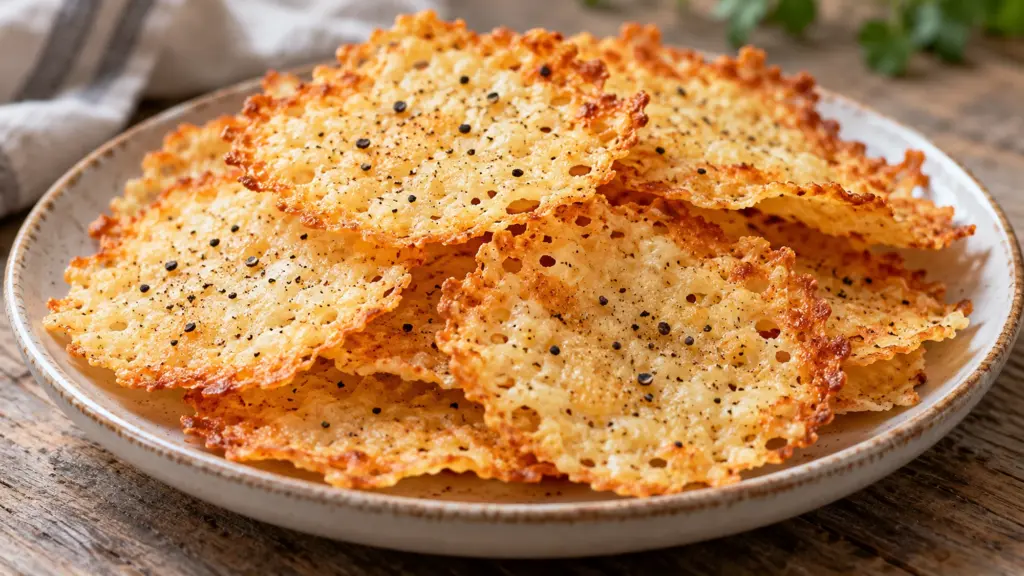
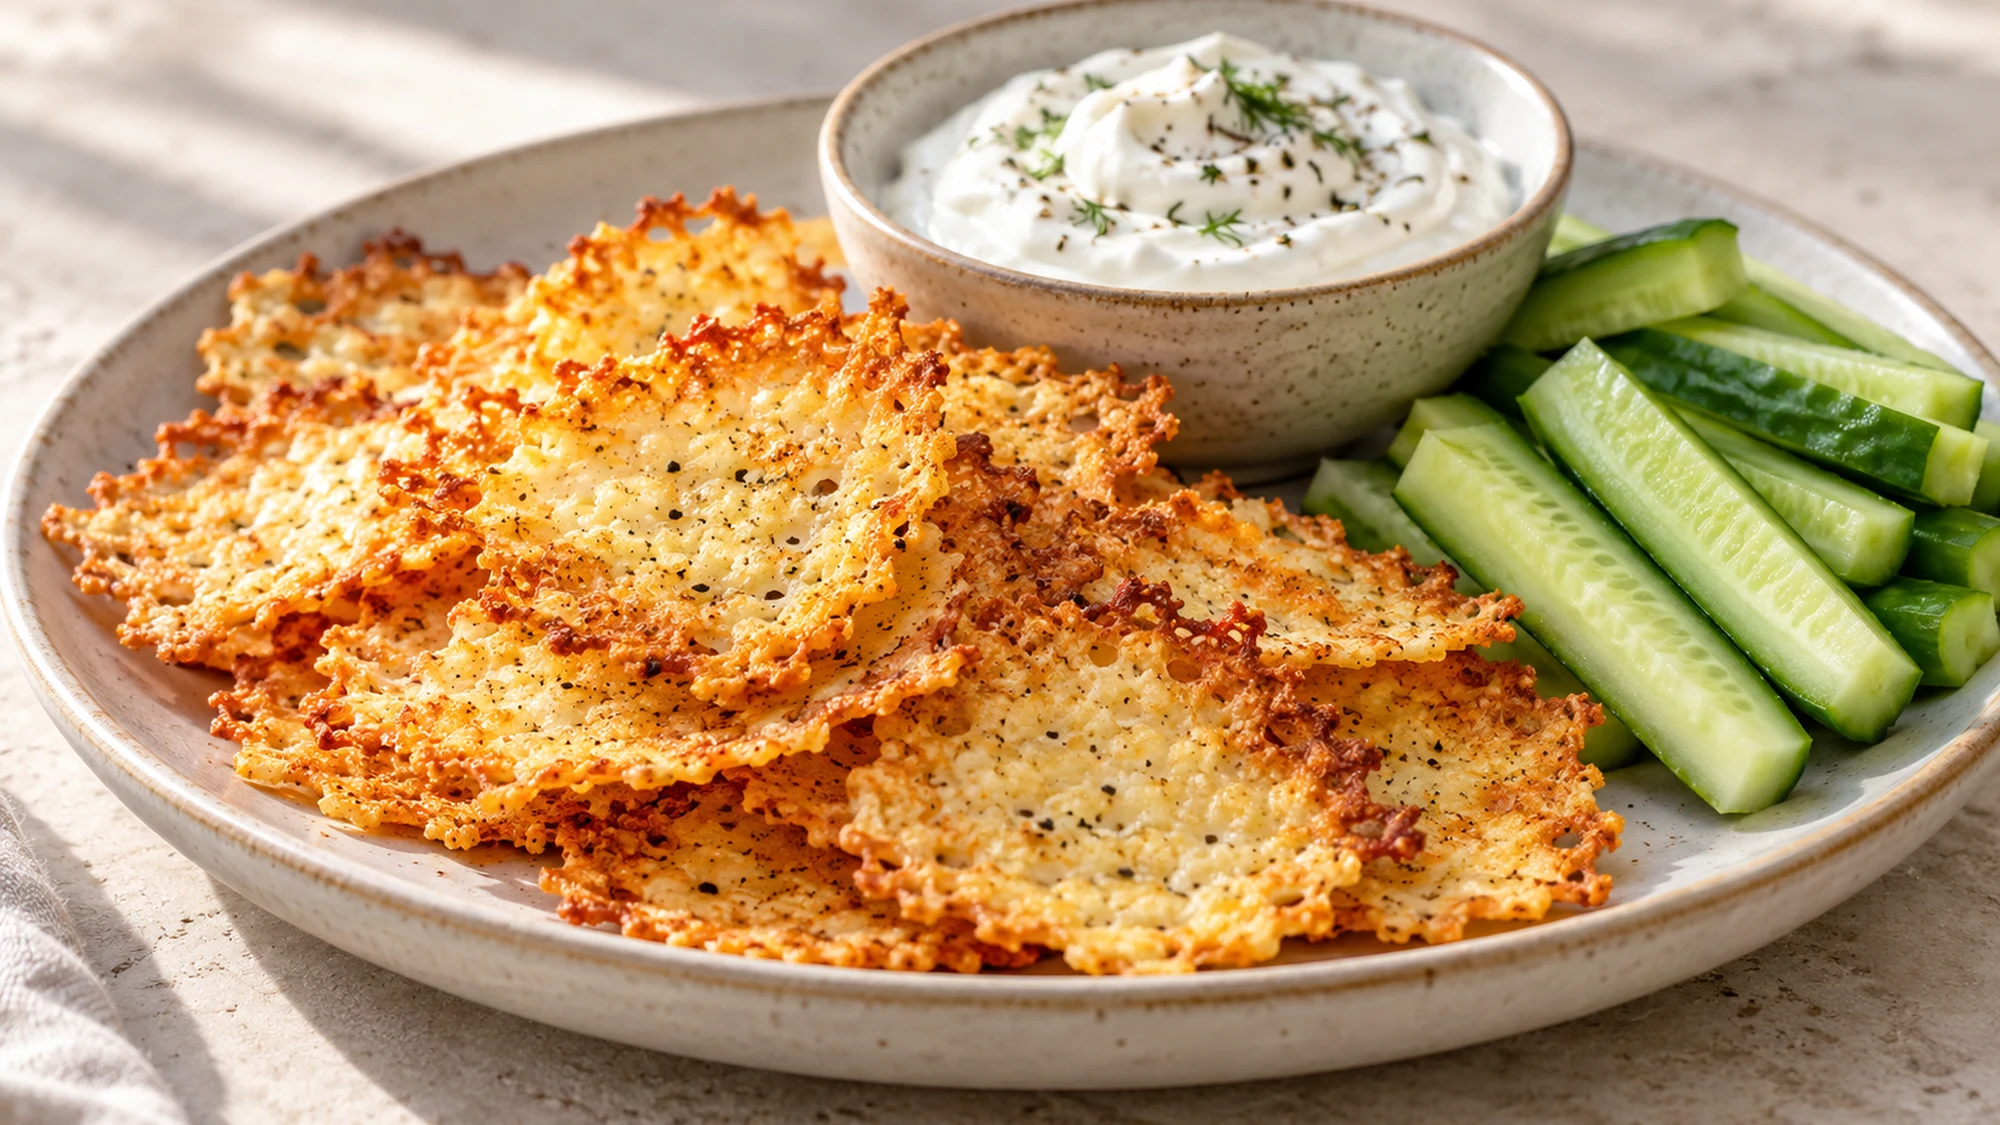
A spoonful of cottage cheese does not look like the beginning of a crisp snack. Most of its moisture has to leave before that soft white mound becomes a thin golden round. These cottage cheese chips work best when you spread small portions evenly and let both browning and cooling do their jobs.
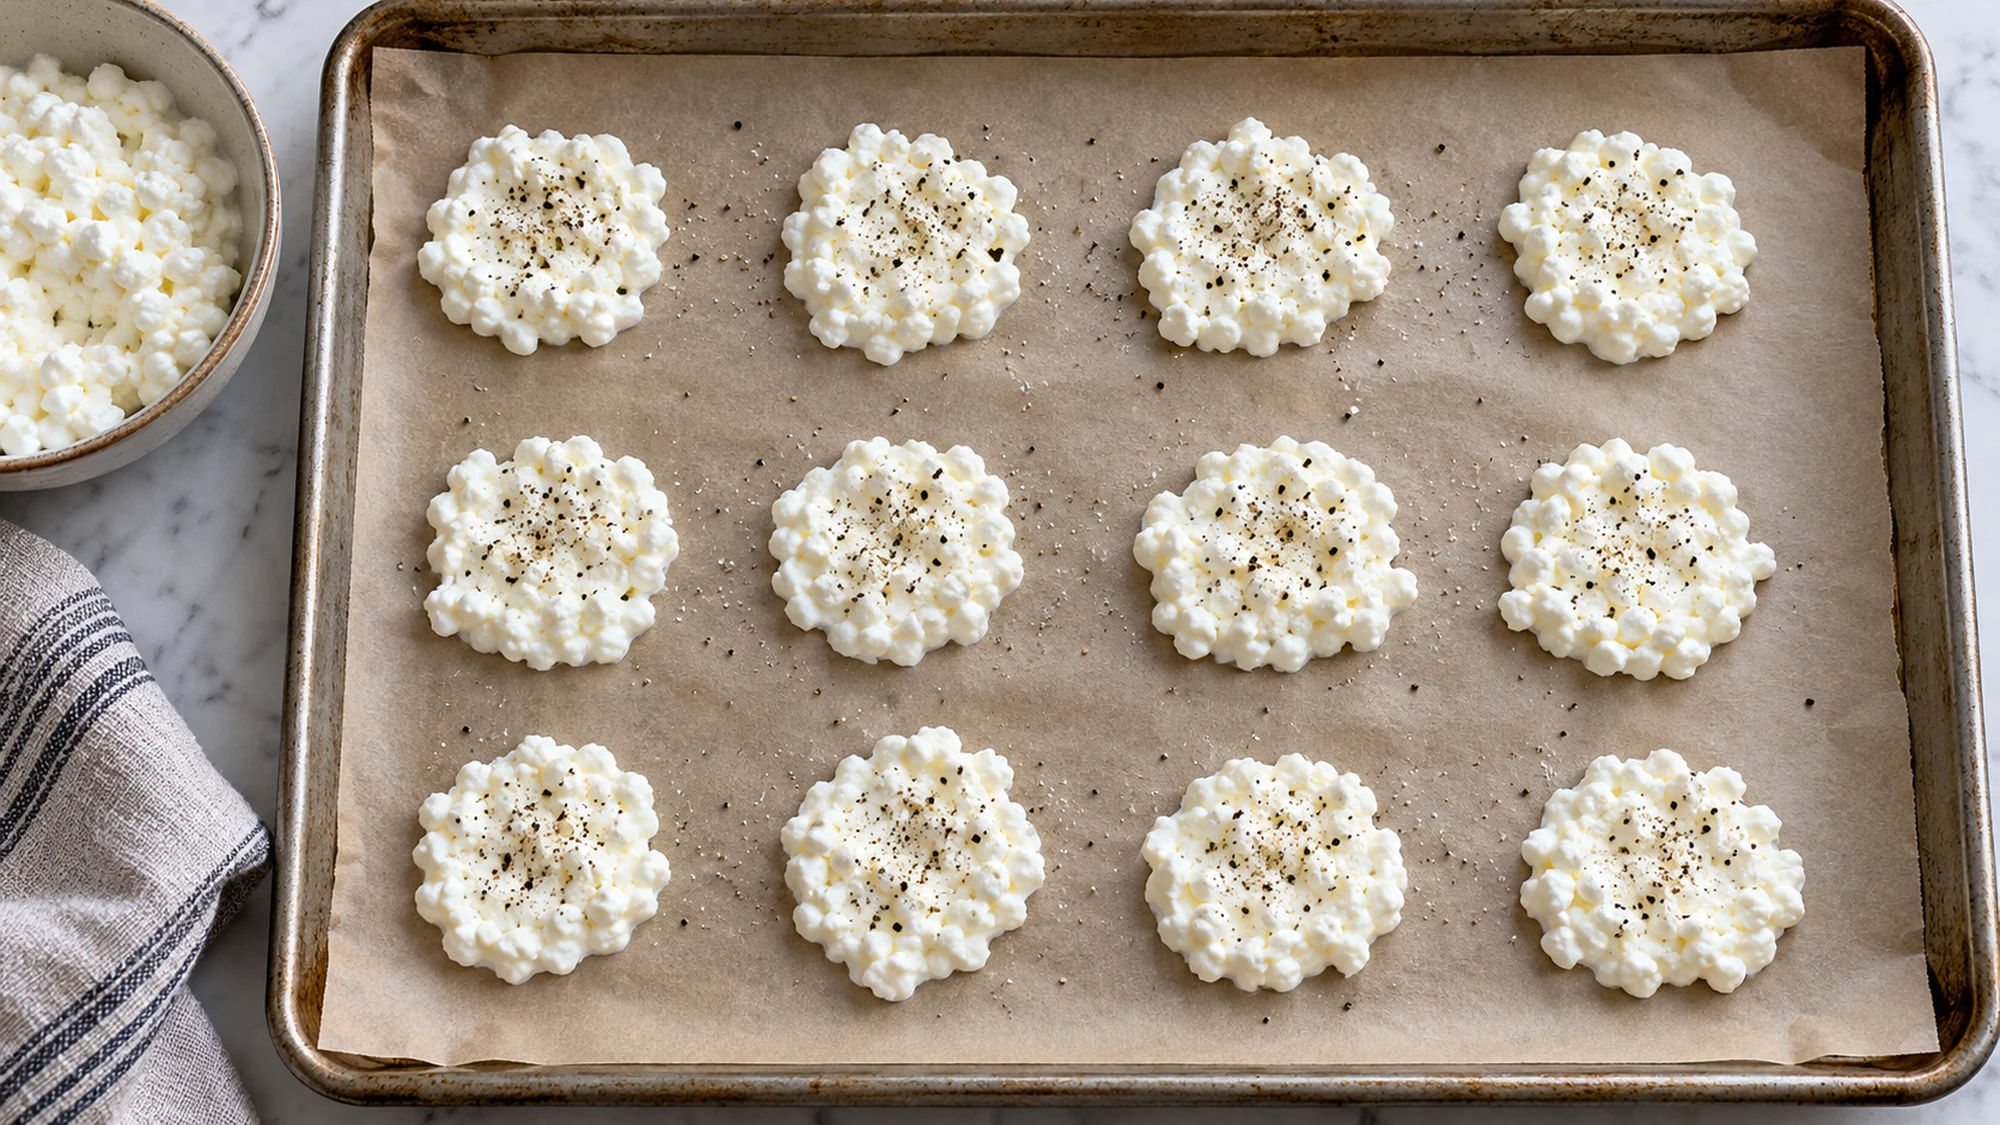
Start with full-fat, small-curd cottage cheese, flatten it into small, widely spaced rounds on parchment and bake until the centers look dry and golden. Cool completely before lifting. Pale, damp centers usually mean the chips need more time, not a thicker layer.
The result is a delicate baked cheese crisp, not a thick potato chip or sturdy cracker. I’d make a small batch first because cottage cheese brands vary in moisture. A tray that looks sparse before baking is usually easier to manage than one crowded with overlapping puddles.
Serving Cottage Cheese Chips While They Are Crisp
Serve the cooled chips shortly after baking. A small plate keeps them from being crushed, and cucumber or pepper strips provide something fresh alongside the salty cheese. If you add a dip, choose a smooth one and spoon a little onto a chip instead of dragging the fragile edge through a thick bowl.
For a different cheese-based snack, cheesy pickle chips pair a cheddar border with a tangy pickle center. These cottage cheese rounds skip the pickle, so their texture depends more directly on spreading and drying the dairy itself.
- Beside lunch: Serve a few with a sandwich or salad rather than piling them into a sealed lunch box while warm.
- With soup: Add at the table, not ahead of time; hot liquid quickly softens a thin cheese crisp.
- For sharing: Keep dips and watery vegetables in separate dishes so moisture does not reach the whole batch.
I prefer these plain enough to taste the browned cheese. Black pepper gives a little warmth without requiring a heavy coating of salty seasoning.
Cottage Cheese Chips Variations and Troubleshooting
Use small-curd 4% cottage cheese for the starting batch. Stir the tub first, then lift out the cheese without adding a puddle of loose whey to the tray. Do not squeeze it completely dry or blend in extra liquid. Different brands can spread and brown differently, even when their fat percentages match.
Parchment helps release the cooled chips; wax paper is not an oven substitute. Keep the rounds thin and similar in size. A thick middle can stay chewy while the outside darkens, so an extra-large scoop is not a shortcut to a better snack.
| What you see | Likely issue | What to do |
|---|---|---|
| Brown edge, pale center | Uneven or thick round | Flatten the next batch more evenly; watch the current batch closely. |
| Rounds joining together | Not enough space | Bake fewer at once and leave room for spreading. |
| Chips tear when lifted | Still warm or moist | Cool fully before lifting with a thin spatula. |
| Seasoning tastes very salty | Salt in cheese and topping | Use pepper or a salt-free spice blend instead. |
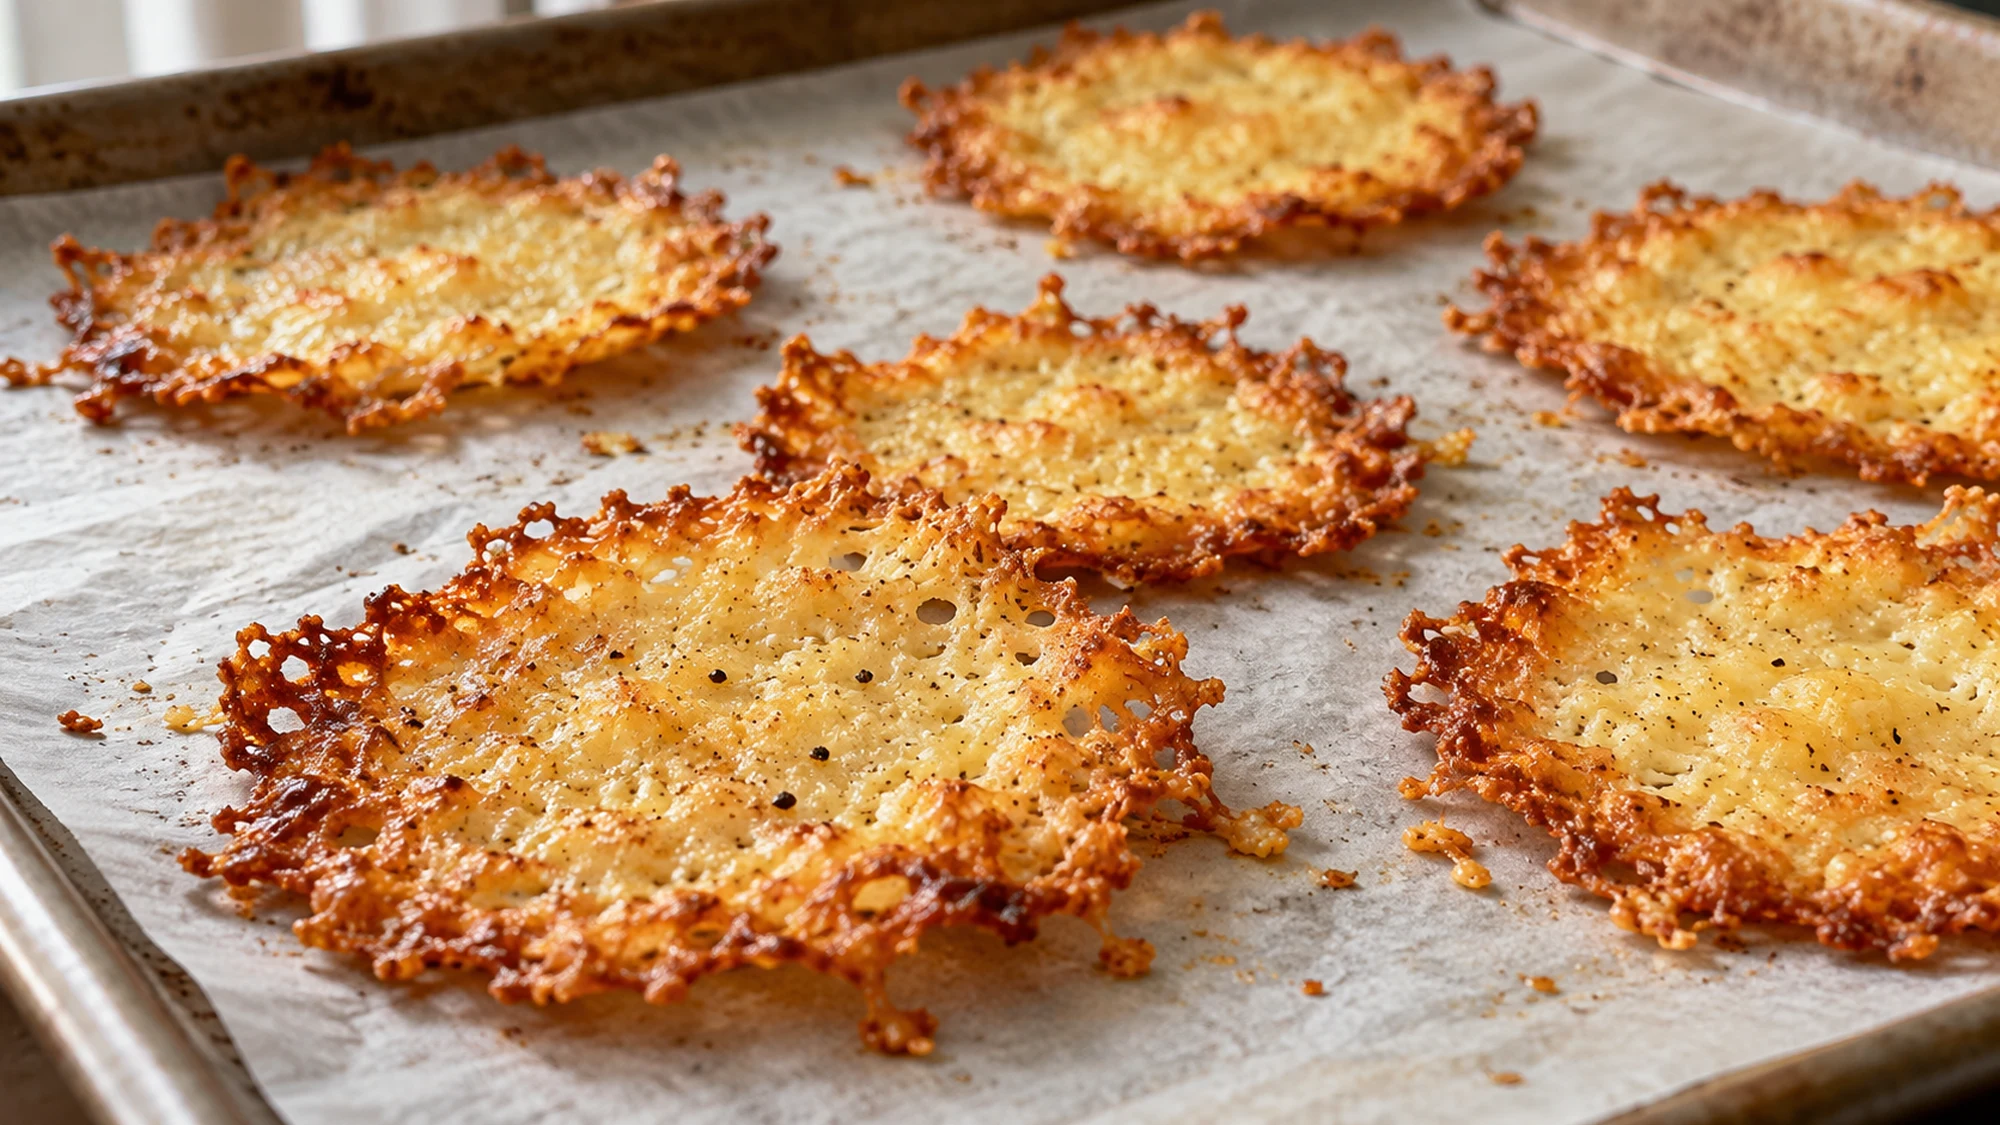
A dry golden center is more useful than a timer alone. Remove individual chips that finish early rather than letting the entire tray turn dark brown.
Health Benefits Without the Snack Hype
Cottage cheese supplies protein, but the amount per portion depends on how much cheese that portion contains. Baking removes water; it does not create extra protein. Dividing this batch into two servings makes each portion the equivalent of roughly half a cup of the starting cheese.
The card estimate uses a regular 4% cottage cheese label, with optional dips excluded. Check your own tub, especially for sodium. NHS guidance on dairy foods explains their contribution to protein and calcium intake; that is a more useful context than calling one snack a nutritional shortcut.
- This recipe contains milk and is unsuitable for a milk allergy.
- A lower-fat or lactose-free product may bake differently; do not assume the same timing or texture.
- Choose unsalted seasonings first, since cottage cheese already contains salt.
Think of these as a different way to enjoy cottage cheese, not a promise of weight loss or a replacement for every other snack.
Bottom Line
For the crispest texture, bake what you plan to eat. Do not assume homemade cheese crisps are shelf-stable simply because their edges feel dry. Refrigerate leftovers promptly and follow USDA handling guidance for perishable cooked foods; expect refrigeration to soften them.
Cottage cheese chips need thin portions, breathing room and a complete cool-down. Start with a small tray, watch the centers as carefully as the edges, and enjoy the delicate crunch soon after baking.
Cottage Cheese Chips Recipe

Ingredients
- 1 cup 4% small-curd cottage cheese About 226 g; stir first, leaving excess loose liquid in the tub.
- 0.125 teaspoon ground black pepper Or a small pinch to taste.
Equipment
- Two large baking sheets
- Parchment paper
- Measuring spoon
- Thin spatula
Instructions
- Heat the oven to 350°F (175°C). Line two large baking sheets with parchment, not wax paper.
- Portion the cottage cheese into about 24 level 2-teaspoon mounds, divided between the trays. Leave at least 2 inches of space between mounds. Flatten each gently into an even round about 2 inches across; keep the centers no thicker than the edges.
- Sprinkle lightly with black pepper. Bake one tray at a time on the center rack for 25–35 minutes, checking at 20 minutes. The centers should be golden and dry-looking with darker golden edges. If needed, continue in short increments; remove individual chips as they finish before they burn.
- Let the chips cool on the parchment for 10 minutes until firm. Lift carefully with a thin spatula. If a cooled chip is still damp and flexible, return it to the oven briefly, watching closely, then cool again.
- Serve soon after cooling. Refrigerate leftovers within 2 hours, or 1 hour above 90°F (32°C), and use within 3–4 days. Texture will soften; do not treat homemade cheese chips as shelf-stable.