
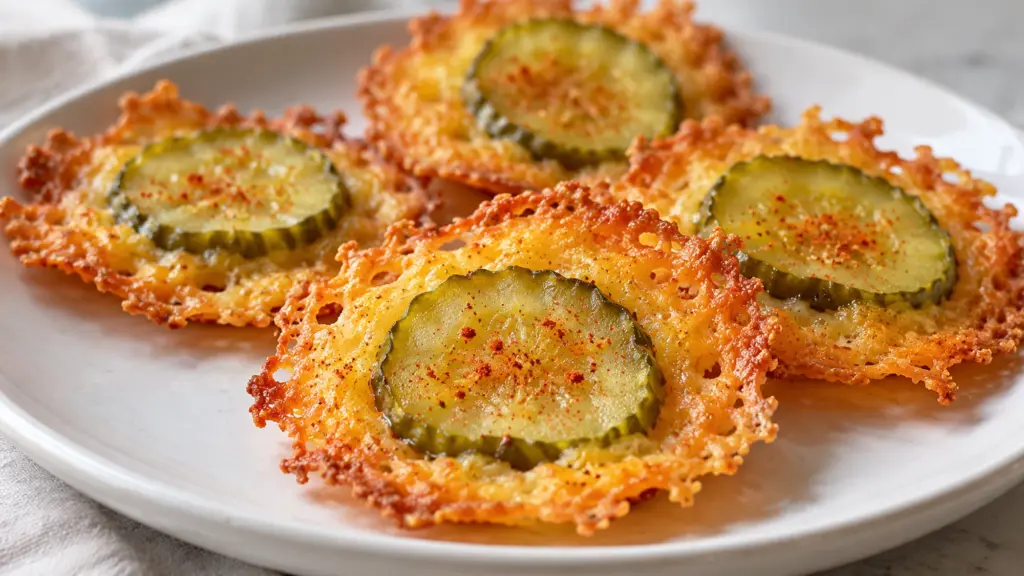
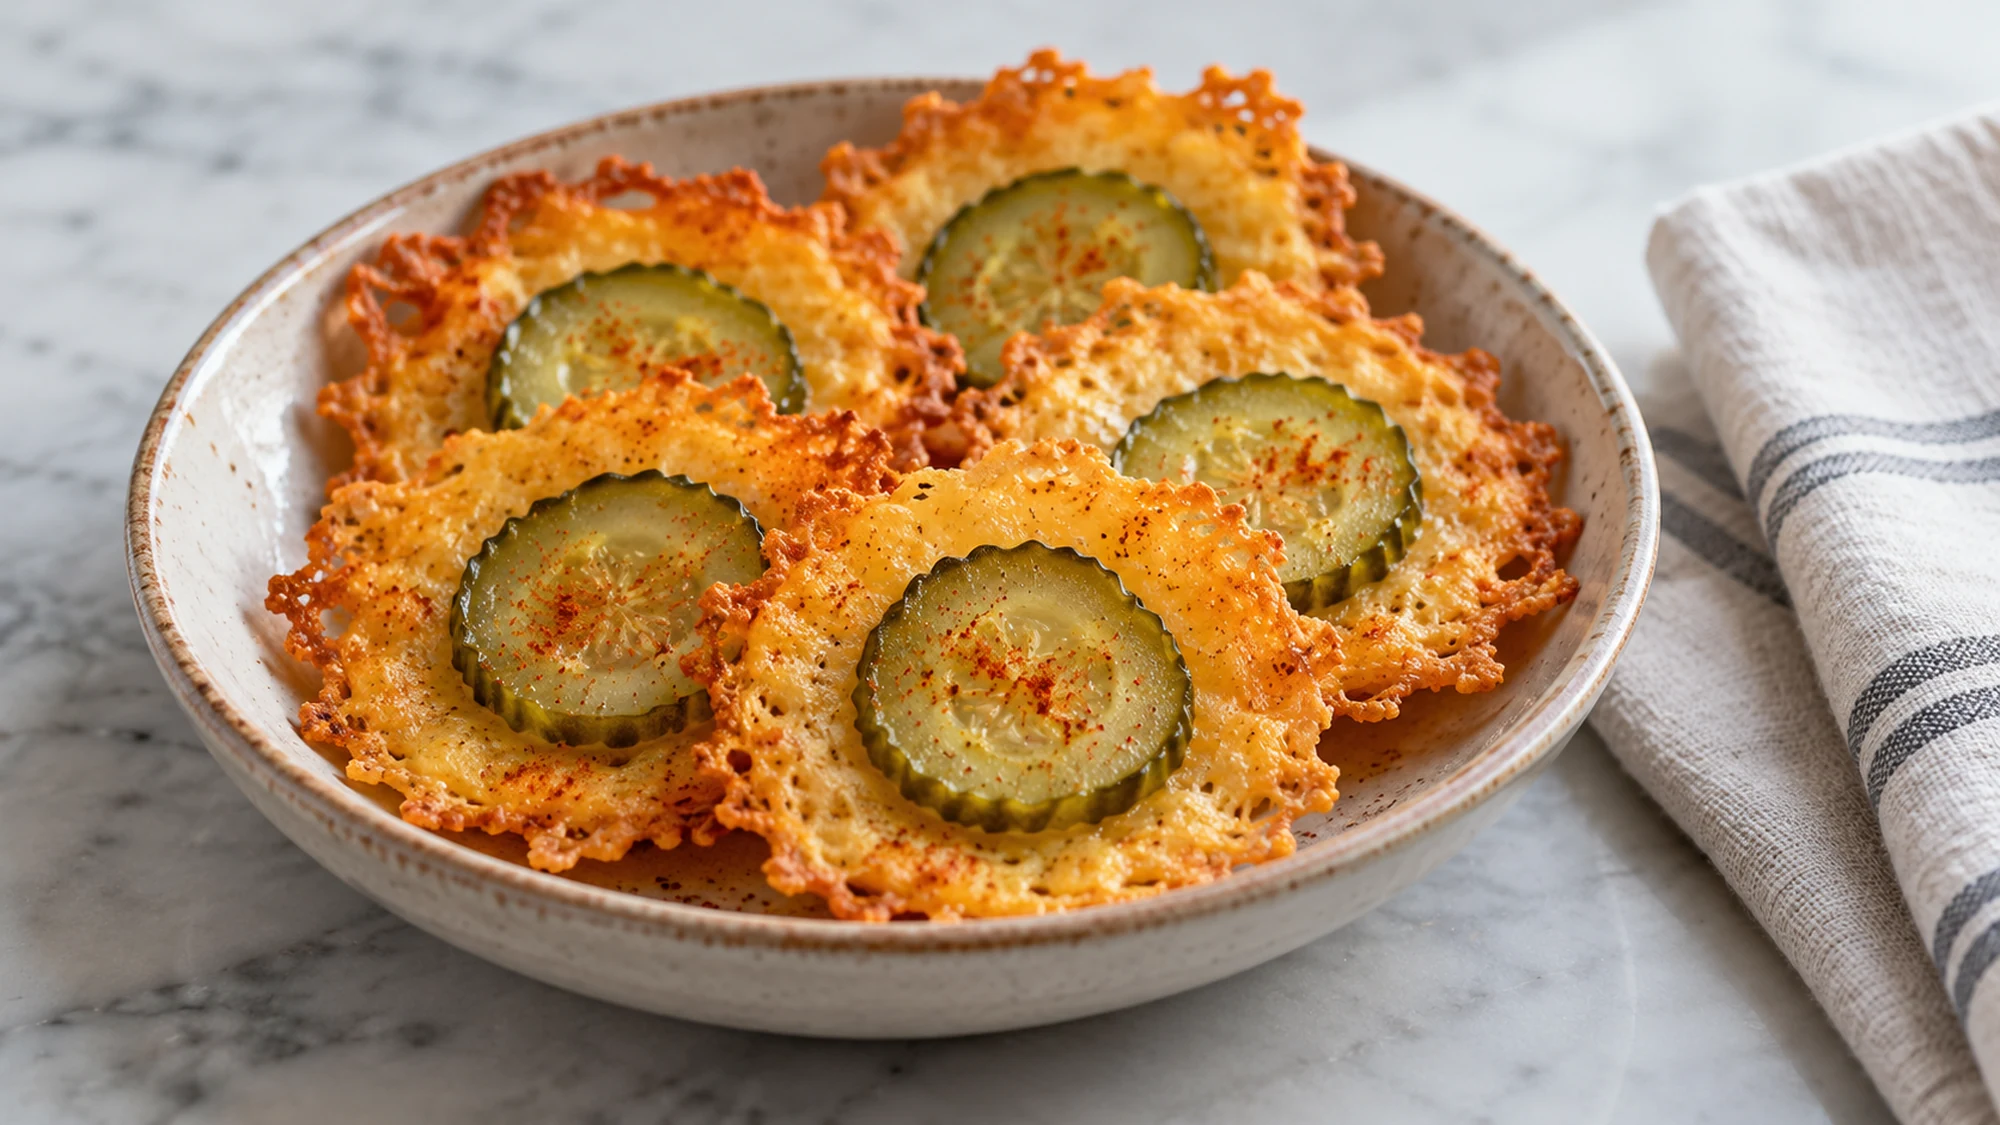
A wet pickle and a crisp cheese edge are not natural teammates. For cheesy pickle chips, a thorough pat with a towel is the useful first step: it removes surface brine before a slice sits on its little mound of cheddar. The oven melts and browns the cheese around it, leaving a tangy center with a more delicate border.
Make small, separate rounds, leave room for the cheese to spread, and let the finished chips cool before lifting. These are baked cheese snacks with pickles, not breaded fried pickle slices.
I prefer a plain dill pickle here because its acidity already does plenty of work. A pinch of paprika gives the cheddar a little extra warmth without burying the pickle under seasoning. Think of the edge as fragile and lacy rather than expecting the entire piece to crunch like a bagged potato chip.
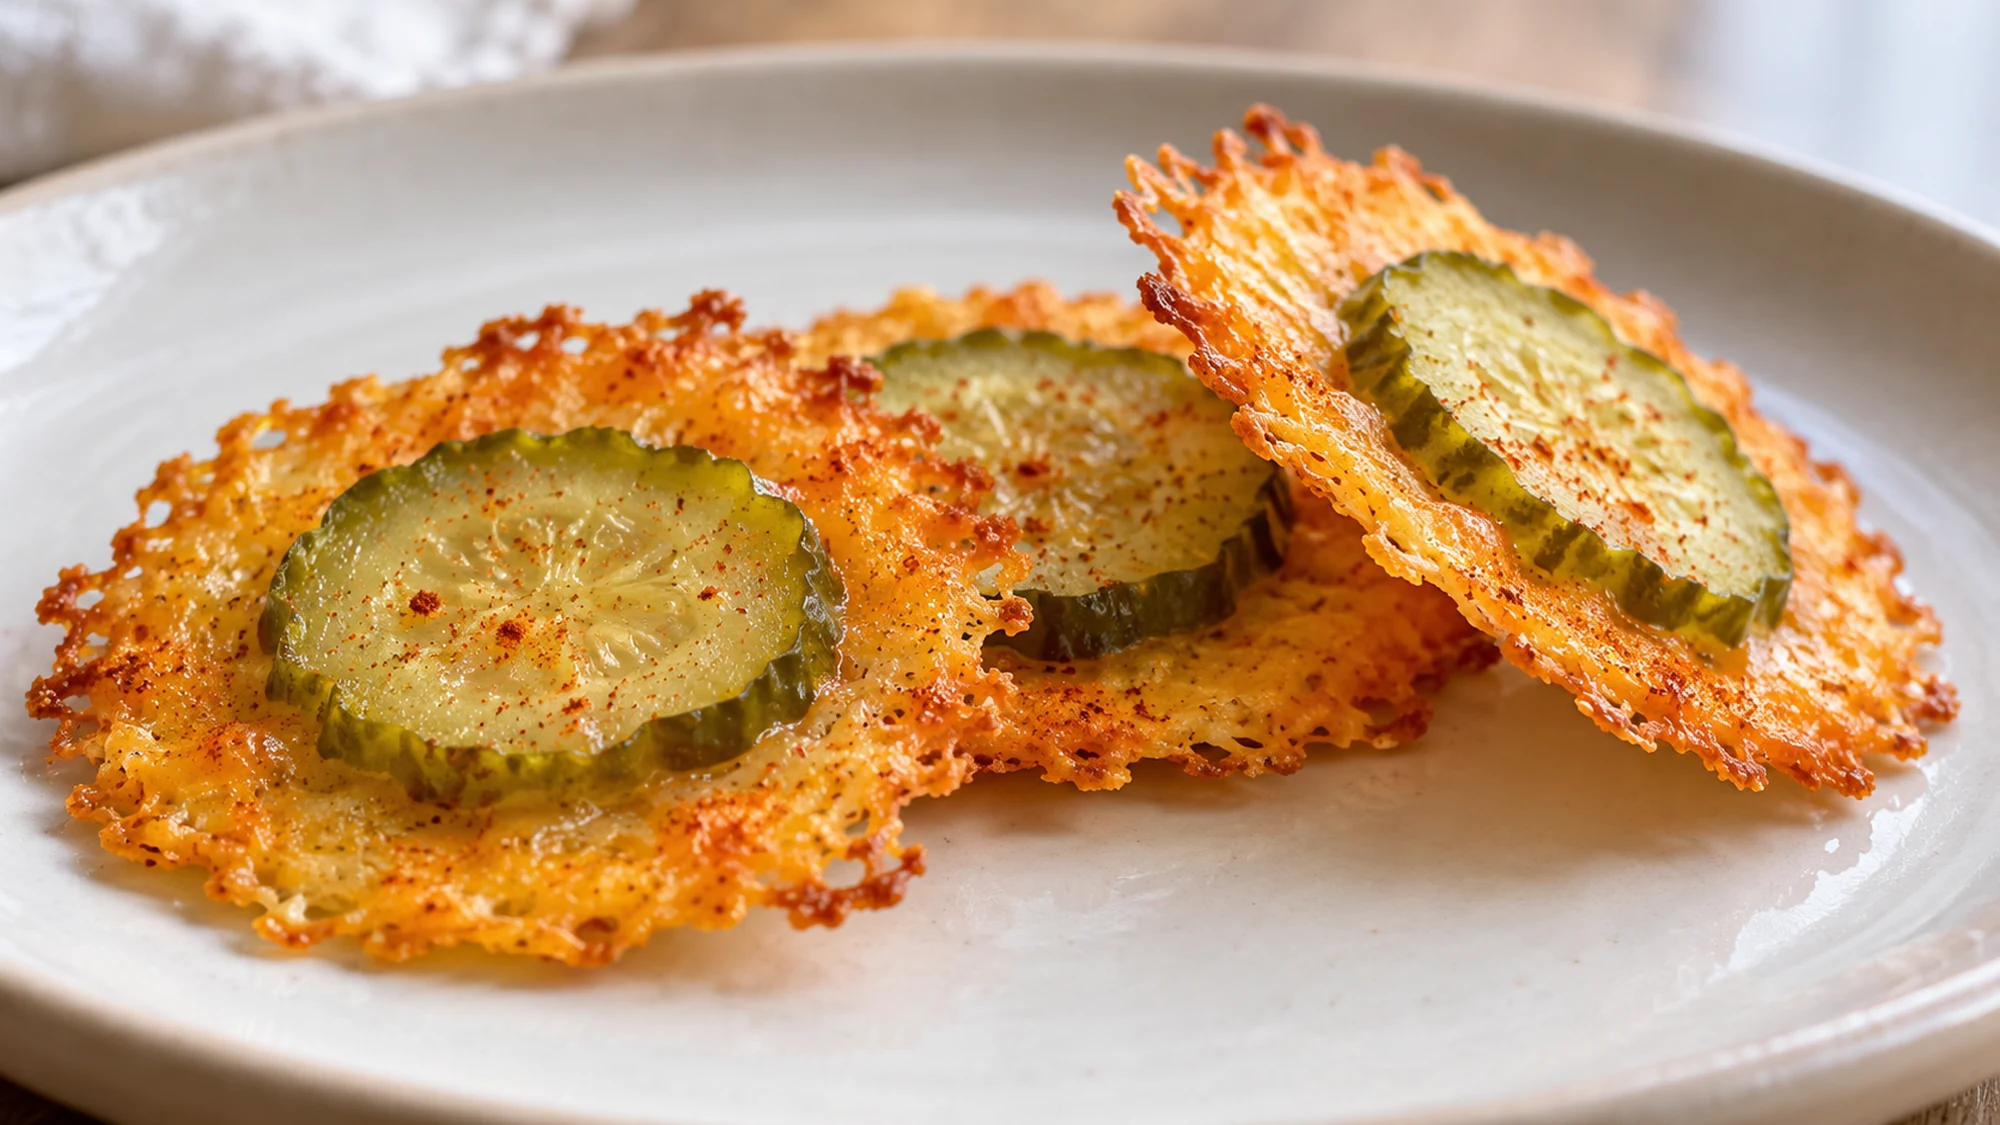
Serving Cheesy Pickle Chips While the Edges Are Crisp
Move the cooled rounds to a plate in a loose layer instead of piling them into a deep bowl. The moist pickle centers can soften nearby edges. Serve them soon after baking, alongside fresh vegetables or other small appetizers.
A dip is optional. Plain yogurt with chopped dill gives a cool contrast, while a familiar ranch dressing makes a richer pairing; neither is included in the recipe’s estimate. I would put the dip in a small bowl beside the chips rather than pouring it over them. The cheese can handle a quick dunk better than a long soak.
- Plan a small portion: The batch makes eighteen chips, or six servings of three, rather than six large bowls of snacks.
- Let them release: If a round stretches when lifted, give it another moment to cool before trying again.
- Offer a lighter contrast: Cucumber sticks, tomatoes or a crisp carrot ribbon salad keep the plate from being entirely cheese and salt.
Serve the chips in a single layer with any dip alongside. Their best texture is a reason to make a manageable batch, not a reason to rush them off the pan.
Cheesy Pickle Chips Variations and Troubleshooting
The key comparison is moisture, not a complicated seasoning blend. Use thin, evenly cut pickle rounds and blot both sides. A very thick slice holds more moisture and makes the center heavier; a ragged slice also covers the cheese unevenly. Finely shredded cheddar helps you distribute each small mound without building a tall pile.
Cheese spreads as it melts, so generous gaps matter even when the uncooked portions look tiny. Two pans are more useful than forcing every round onto a crowded tray. If a few edges join, separate them gently once the cheese has cooled enough to hold together; they do not need perfectly circular borders.
| What you notice | Likely issue | Useful adjustment |
|---|---|---|
| Soft, wet centers | Brine or a thick pickle slice | Blot thoroughly and choose thinner slices. |
| Rounds merge together | Too little space | Leave wider gaps between cheese mounds. |
| Dark, bitter edges | Too much oven time | Check earlier and remove golden rounds promptly. |
| Mild cheese flavor | A milder cheddar | Choose sharp cheddar rather than extra salt. |
A dry pickle surface, an even cheese layer and a watchful eye are more reliable than adding a heavier coating or baking until every part is dark.
Health Benefits and the Salty-Snack Trade-Off
Cheddar contributes protein and calcium, but it also adds saturated fat and sodium. Pickles bring acidity and more sodium, not enough vegetables to make this a vegetable side dish. Leaving out breading does not automatically make the snack nutritionally preferable for every person or every meal.
Compare the labels on the cheese and pickles you actually buy. The FDA’s sodium guide explains why the listed serving size matters when comparing packaged foods. A reduced-sodium label describes a comparison with the regular product; it does not necessarily mean the food is low in sodium.
- Remember the dip: Dressings can add sodium and energy beyond the three-chip estimate.
- Check milk ingredients: Cheddar contains milk; plant-based substitutes may melt differently and need their own assessment.
- Avoid broad diet promises: These are a flavorful snack, not a weight-loss strategy or a substitute for a balanced meal.
Enjoy the sharp cheese and tangy pickle in a deliberate portion. The ingredient list is short, but the nutrition still includes everything on that list.
Bottom Line
Quality is best soon after cooling. Refrigerate leftovers promptly in a covered container and expect the centers to soften the cheese edges. Follow FoodSafety.gov’s leftover guidance rather than treating these pickle-topped cheese rounds like shelf-stable crackers.
Pat dry, space out, watch the color and cool before lifting. Those small decisions keep cheesy pickle chips simple without promising a crunch that moisture will eventually soften.
Cheesy Pickle Chips Recipe

Ingredients
- 1 1/2 cups finely shredded sharp cheddar 170 g
- 18 thin dill pickle chips 90 g drained, patted thoroughly dry on both sides
- 1/4 teaspoon paprika about 0.6 g
Equipment
- 2 rimmed baking sheets
- Parchment paper
- Clean kitchen towel or paper towels
- Thin spatula
- Wire rack
Instructions
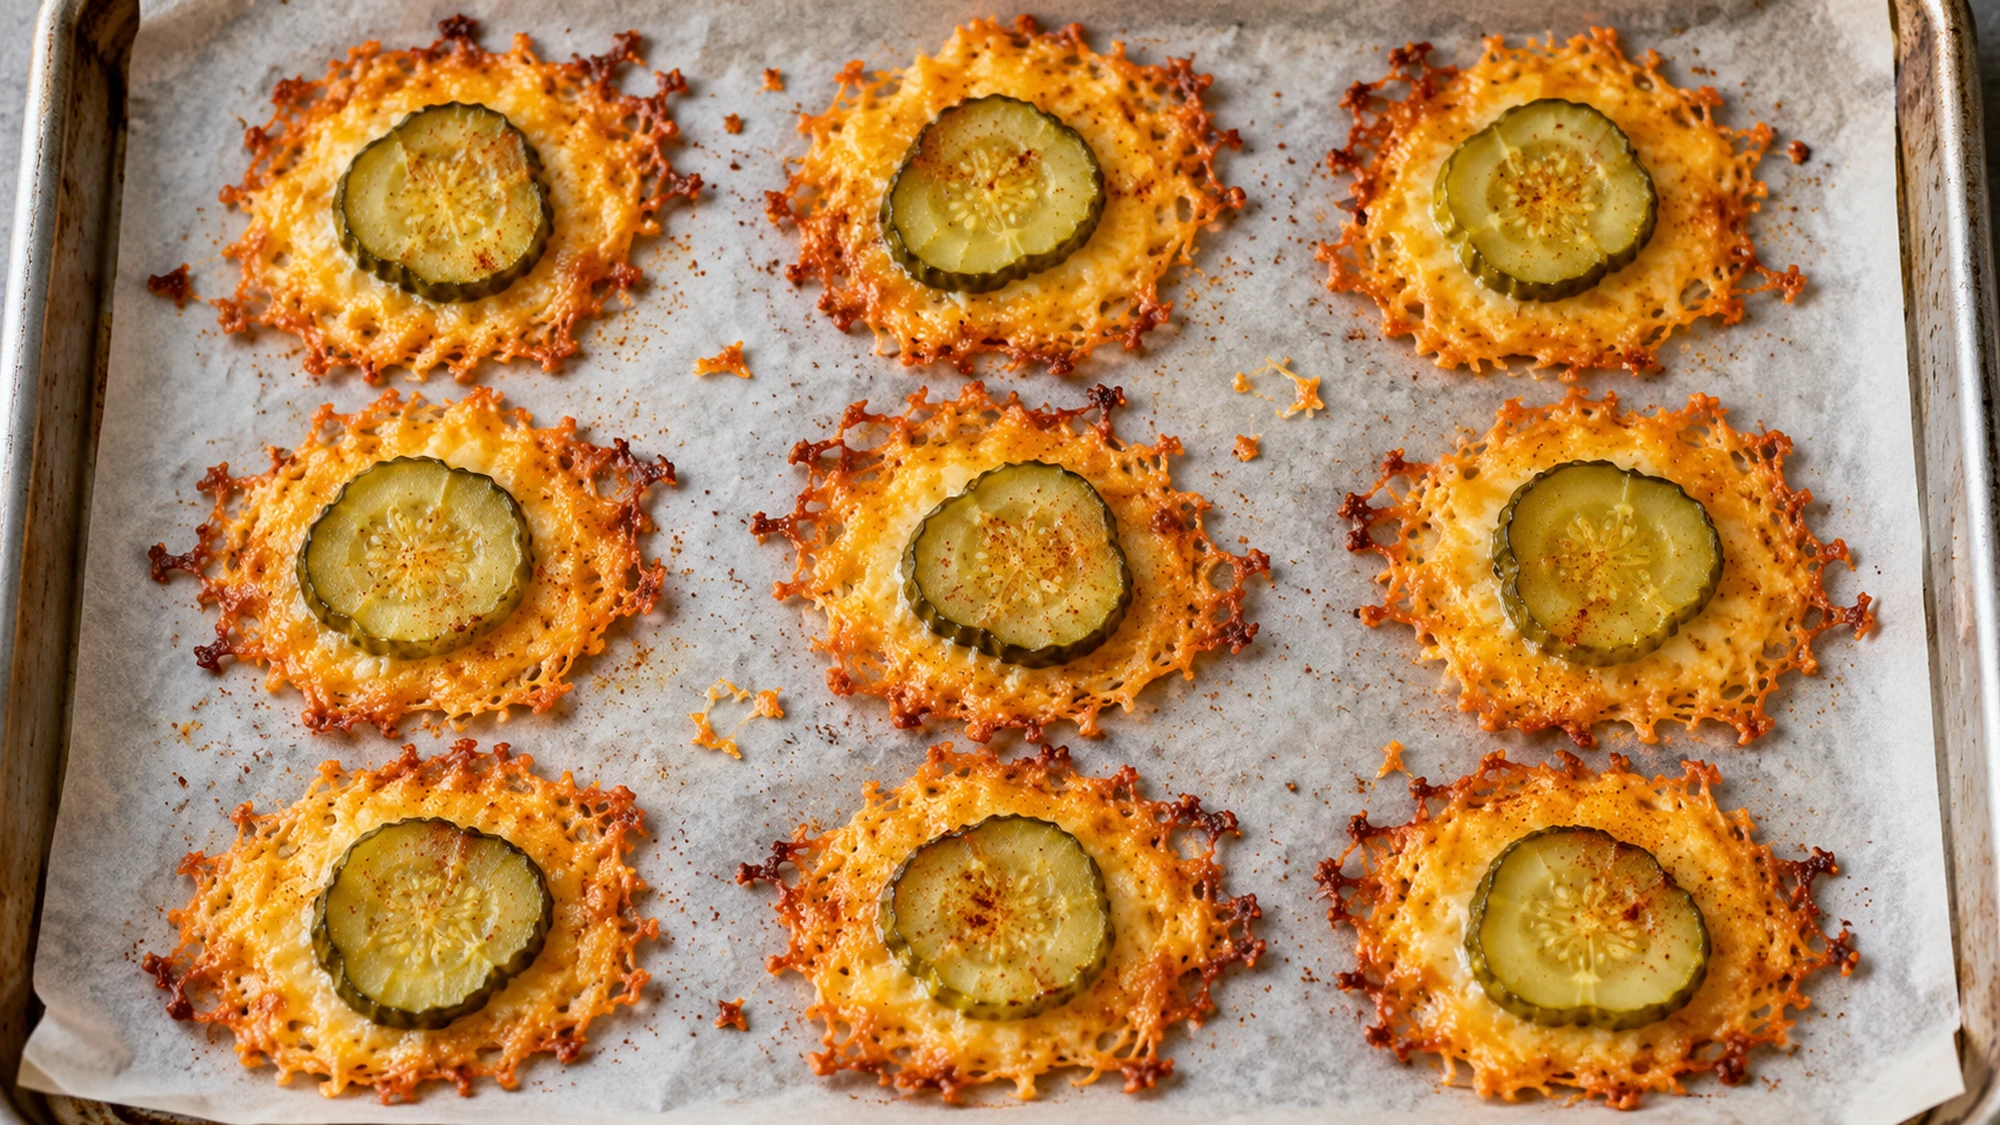
- Heat the oven to 375°F (190°C). Line two rimmed baking sheets with parchment. Drain the pickle chips and blot both sides thoroughly; choose thin, evenly cut slices.
- Divide the cheddar into 18 equal small mounds, about 9–10 g each, leaving at least 2 inches between their edges. Flatten each into an even round about 2 inches wide. Place one dry pickle slice in each center and sprinkle lightly with the measured paprika.
- Bake one sheet at a time on the middle rack for about 10–14 minutes, until the cheddar has melted and the edges are golden. Check from 8 minutes onward and remove earlier if edges brown quickly. Repeat with the second sheet; total elapsed time is longer when baking in batches.
- Let the rounds cool on the baking sheet for about 3 minutes so they firm up. Lift gently with a thin spatula and transfer to a rack for another 2 minutes. Serve promptly in a single layer, three chips per portion.