
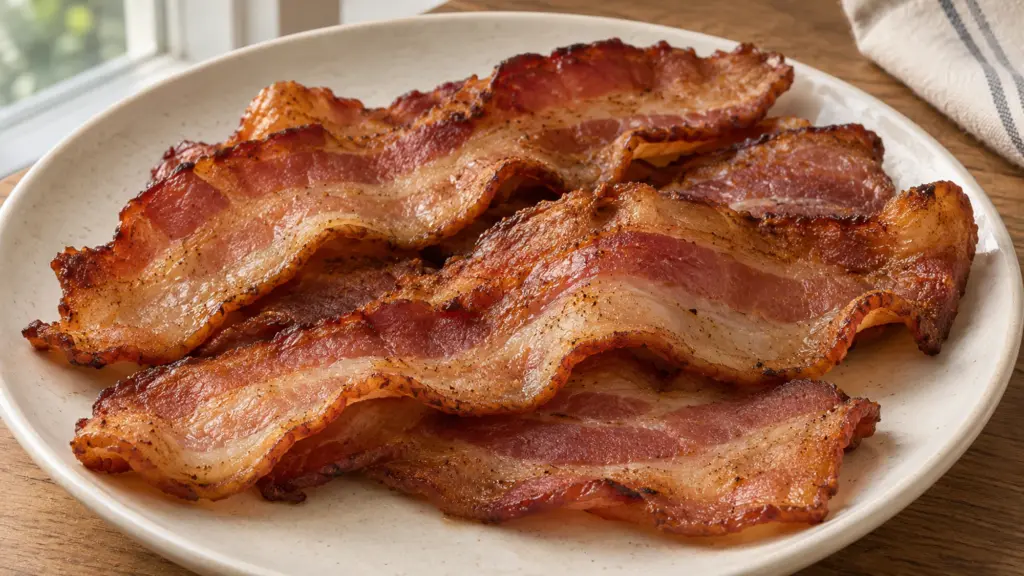
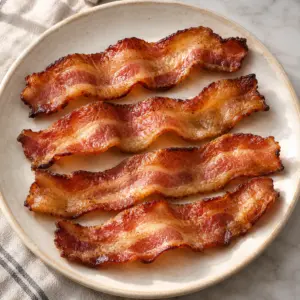
A thick strip of bacon can look beautifully browned around the edges while the middle still feels chewy. For bacon thick cut enough to need more time, the oven gives you room to cook the whole batch without squeezing it into a skillet. A rack over a rimmed sheet pan lets the rendered fat drip away while the strips develop their rippled edges.

Cook thick-cut bacon in a single layer at 400°F (200°C), start checking early, and judge the finish by the meat and fat rather than the clock alone. Give the strips a brief drain before serving.
I’d choose evenly cut slices over the largest slices in the package. Matching thickness matters more than matching length: thin tails can darken before a thicker center is ready. This plain version needs no oil, sugar or extra salt, and the same tray can provide breakfast strips, sandwich pieces or a small salad topping.
Serving Bacon Thick Cut for Breakfast and Beyond
Think about the rest of the plate before deciding how crisp to make the bacon. A strip tucked into a sandwich needs enough structure to bite through without pulling out the whole filling; bacon destined for crumbles can go a little firmer. I prefer a browned edge with a little give in the middle, rather than an all-over brittle snap.
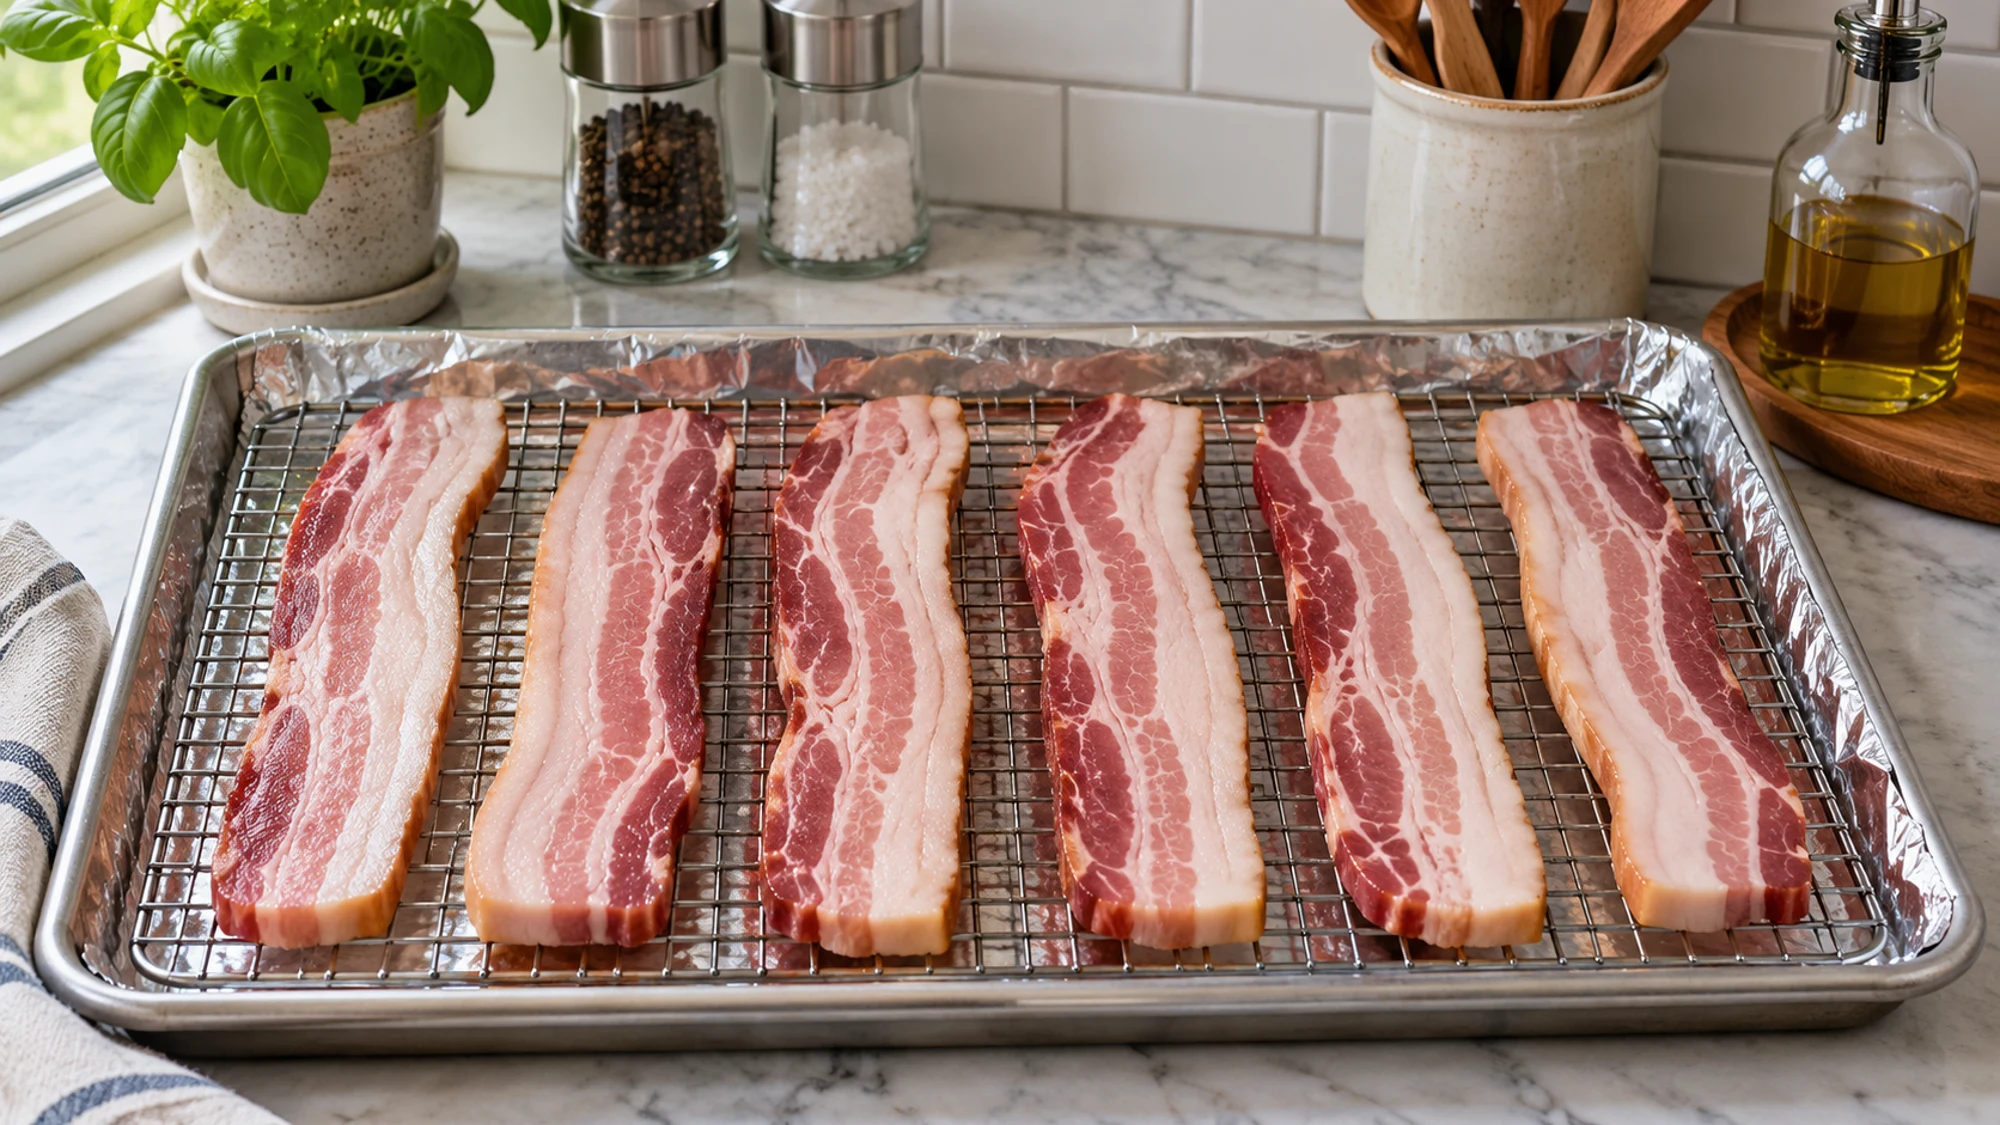
- For breakfast: pair a modest portion with eggs, whole-grain toast and fruit. These vegetable-filled cottage cheese egg bites offer a practical make-ahead option for the rest of the plate.
- For sandwiches: drain the strips before adding them to bread so excess grease does not soak through. Cut long strips in half to keep each bite manageable.
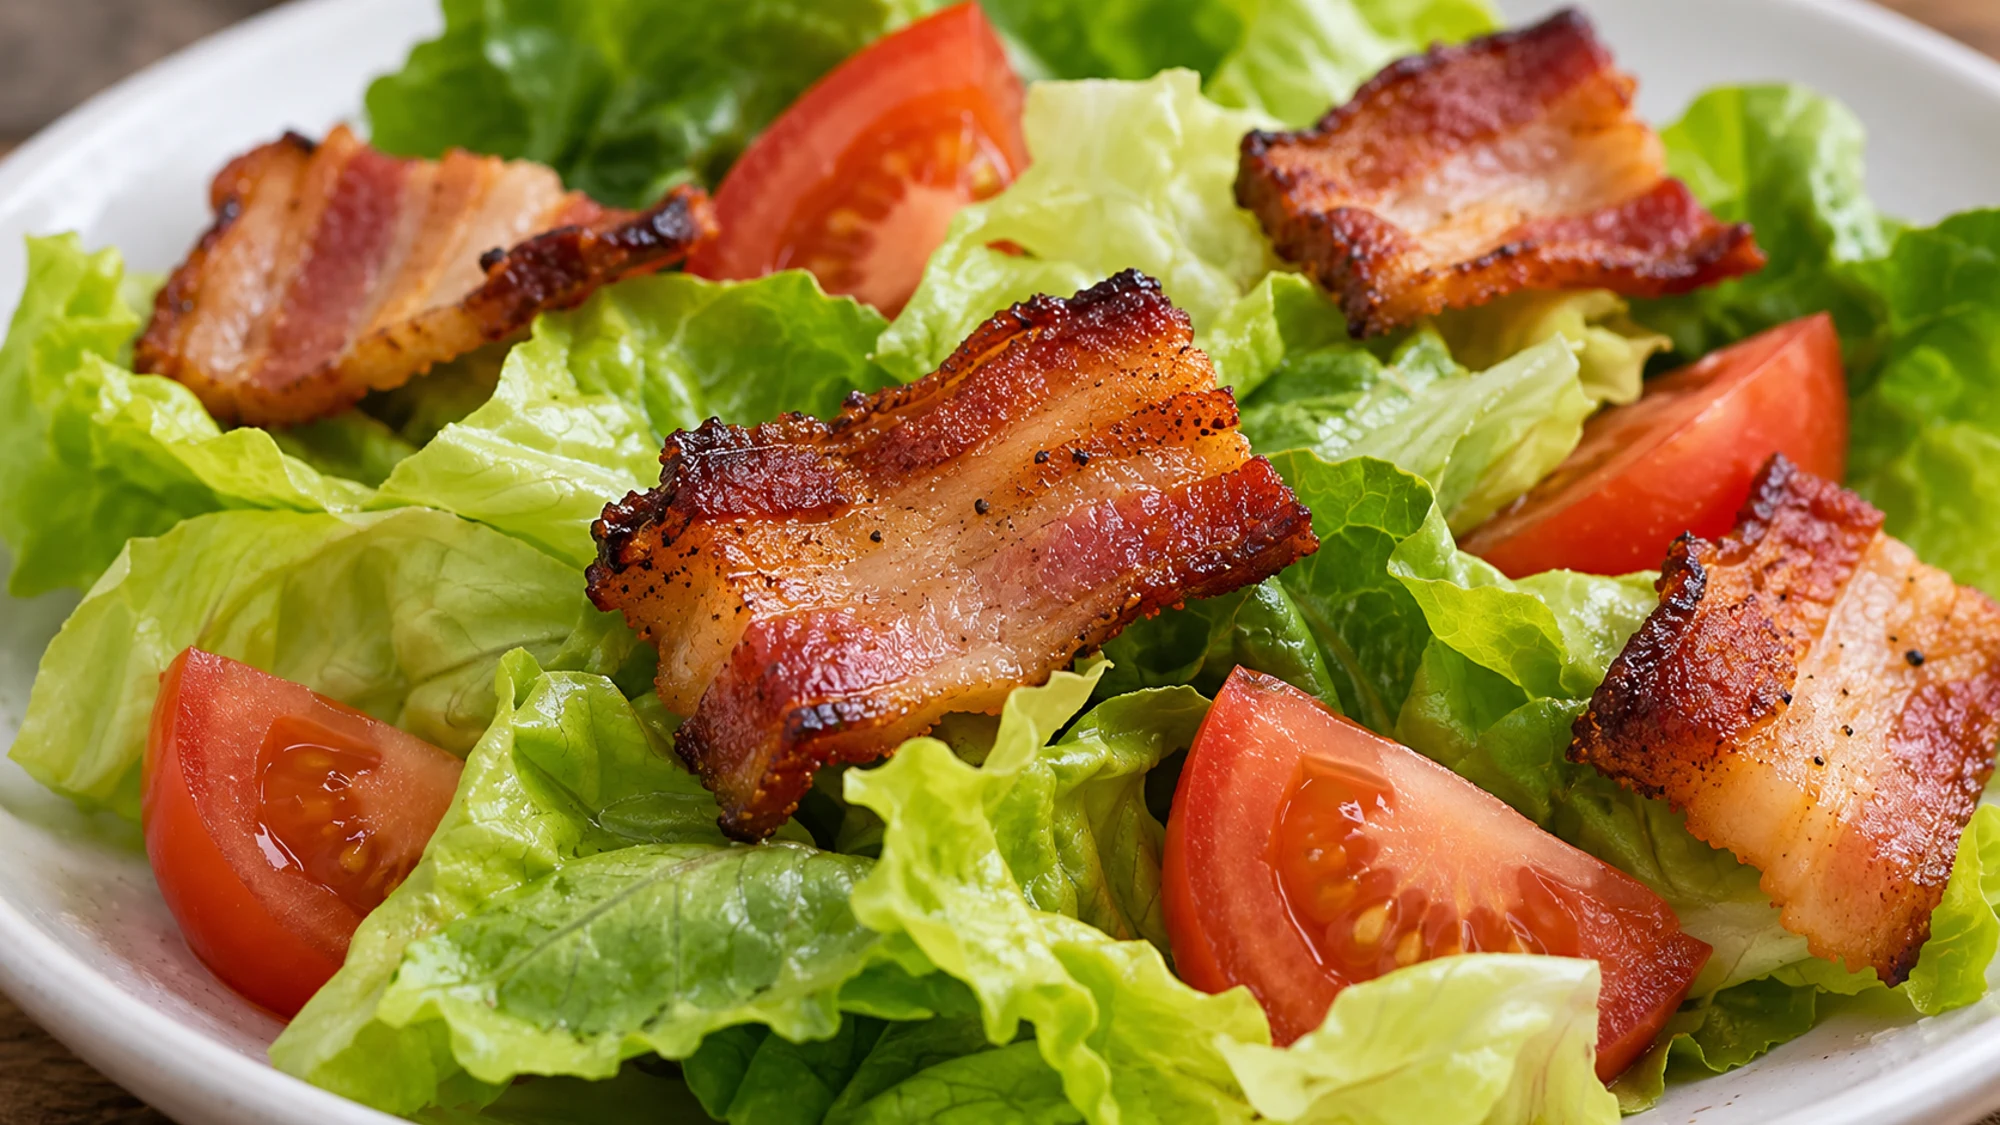
- For salads or potatoes: chop fully cooked bacon after it has cooled slightly. Add it near serving so its crisp edges contrast with the softer ingredients.
If some slices finish first, remove those with tongs and let the others continue. There is no prize for forcing every strip to leave the oven together. Transfer the finished bacon to a paper-towel-lined plate rather than leaving it in hot fat while the eggs catch up.
Match the texture to the meal, and remove individual strips as they finish instead of overcooking the whole tray.
Variations and Small Changes That Matter
The base recipe is deliberately simple. Smoked and unsmoked bacon have different flavors, and brands vary in thickness, curing and sweetness. Check the package directions as well as the oven: a sugary cure may brown faster, while a particularly thick slice may need longer.
| Choice | What changes | What to watch |
|---|---|---|
| Plain thick-cut bacon | Meaty strips with a crisp rim | Start checking at 15 minutes |
| Peppered thick-cut bacon | A sharper, savory finish | No extra salt is usually needed |
| Regular-cut bacon | Thinner, more fragile strips | Begin checking sooner; do not reuse thick-cut timing |
| No rack | More contact with rendered fat | Texture and cooking time will differ |
- Use a real rim: a flat cookie sheet cannot safely contain the rendered fat. Keep the tray level when moving it.
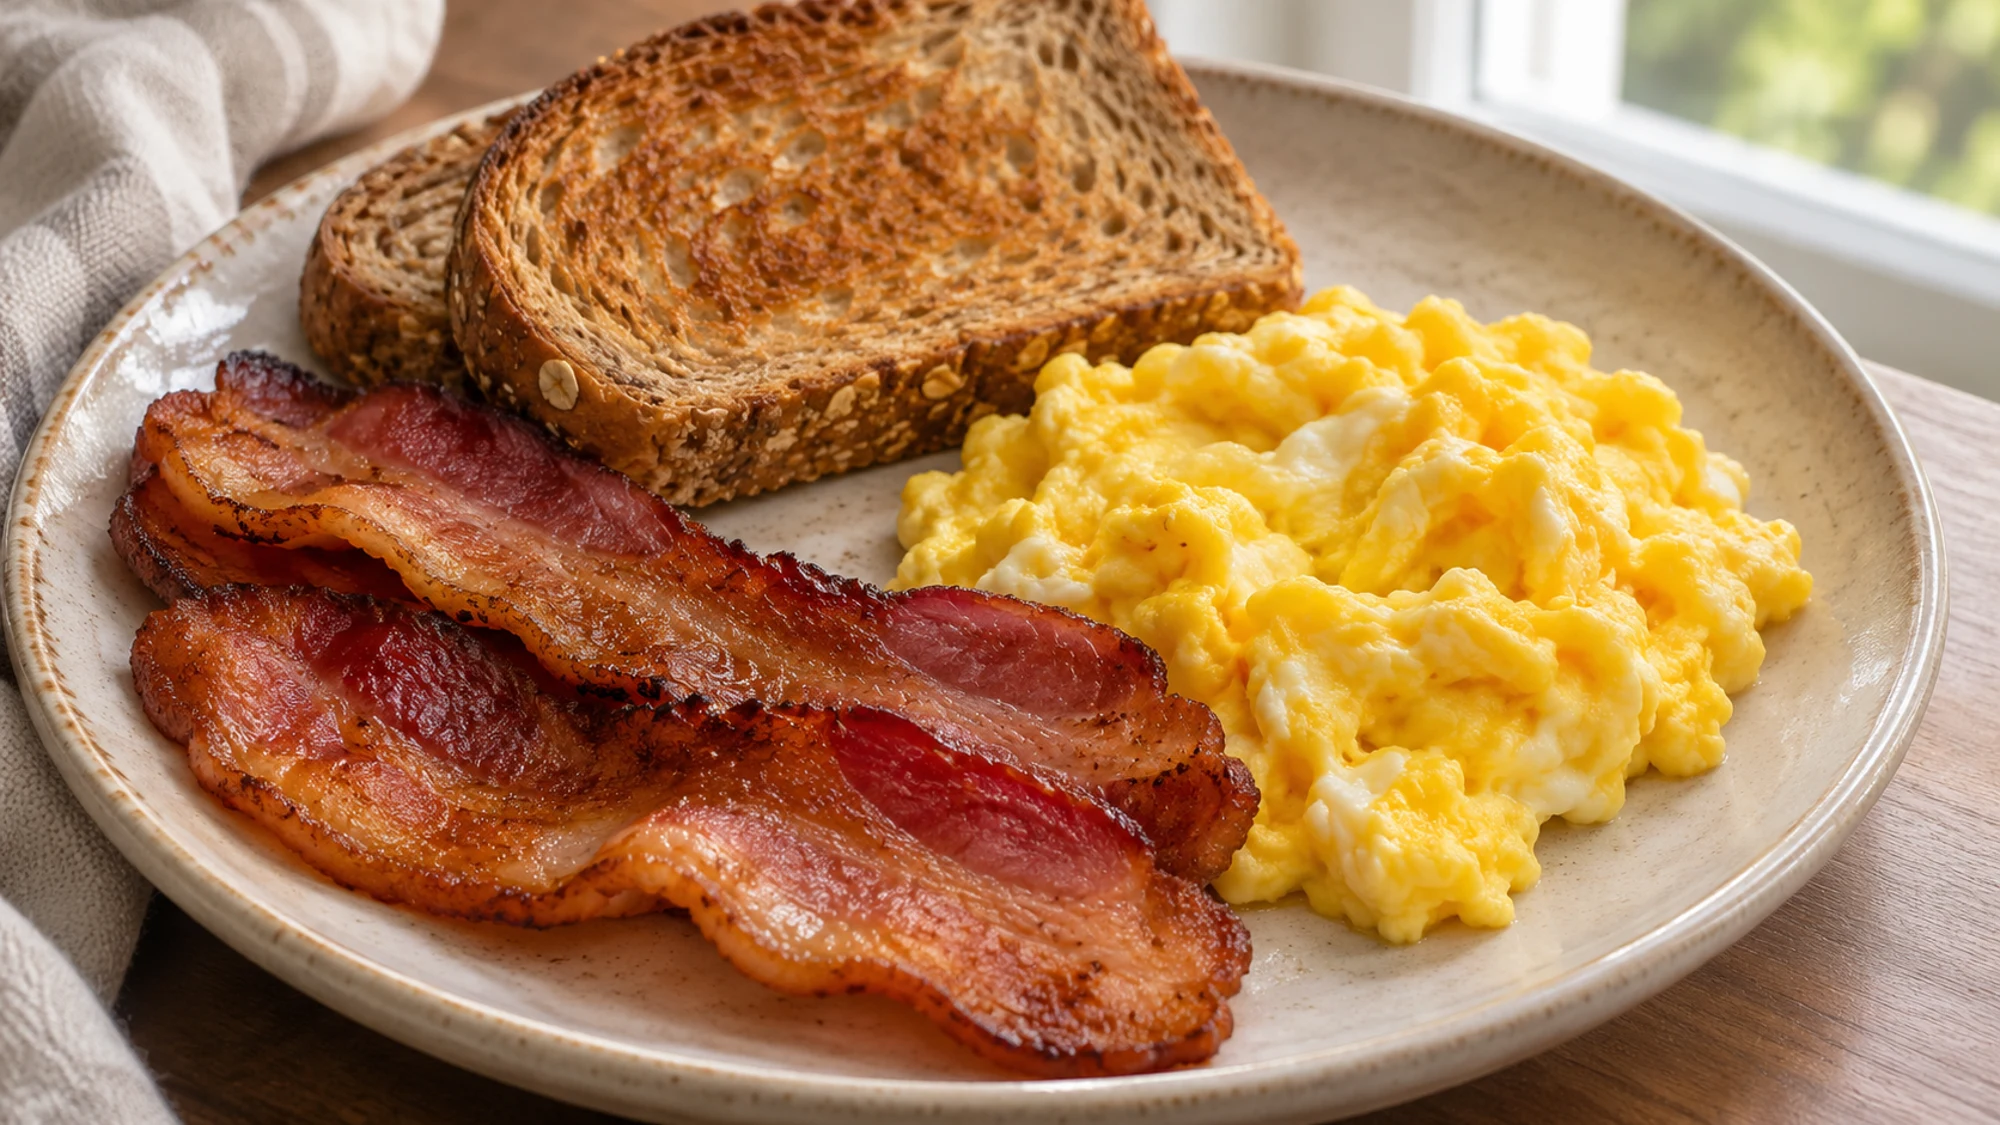
- Check the rack: use an oven-safe metal rack, not a cooling rack with an unknown coating.
- Leave space: overlapping slices cook unevenly. Use a second tray or cook in batches if necessary.
- Avoid a last-minute sugar coating: it changes browning and can burn quickly. Treat candied bacon as a separate recipe.
Change the seasoning if you like, but keep the practical safeguards: a rimmed tray, an oven-safe rack and slices that do not overlap.
Health Benefits and Everyday Trade-Offs
Bacon contributes protein and a concentrated savory flavor, but it is also a processed meat that can contribute substantial sodium and saturated fat. Baking does not turn it into a low-sodium food. A little crumbled bacon can flavor a larger plate of vegetables without making the bacon the largest portion.
- Read the actual label: compare the same serving weight between brands, not just the number of slices. Thick-cut slices can be much heavier.
- Keep the meal varied: include produce and a higher-fiber side rather than expecting one ingredient to cover every nutritional need.
- Handle leftovers promptly: follow USDA leftover guidance: refrigerate within 2 hours, or 1 hour above 90°F (32°C), and use within 3–4 days.
- Reheat safely: USDA recommends reheating leftovers to 165°F (74°C). Keep the reheating time short enough to avoid unnecessary drying.
Enjoy the flavor in a portion that fits the meal, and use the package label—not the cooking method—to judge sodium and serving size.
Bottom Line
Thick-cut bacon rewards a little attention near the end of cooking. Keep the strips separate, watch the browning, and let the rack and rimmed pan handle the drips. The result should suit your plate, not an inflexible timer.
Bacon Thick Cut Recipe

Ingredients
- 1 lb thick-cut bacon 454 g; evenly cut slices
Equipment
- Rimmed baking sheet
- Oven-safe metal rack
- Aluminum foil
- Tongs
- Paper-towel-lined plate
Instructions
- Heat the oven to 400°F (200°C). Line a large rimmed baking sheet with aluminum foil and set an oven-safe metal rack inside it.
- Lay the bacon on the rack in a single layer without overlapping. Use another prepared sheet or cook in batches if the slices do not fit.
- Bake for about 20–30 minutes, beginning checks at 15 minutes. Continue until the meat is cooked and the fat is rendered, with browned edges and your preferred crispness. Remove thinner pieces earlier if needed; timing depends on thickness and oven.
- Using tongs, move the cooked strips to the paper-towel-lined plate. Drain briefly and serve. Keep the hot sheet level and let the fat cool safely before handling; never pour grease down a drain.
- Refrigerate leftovers within 2 hours, or within 1 hour above 90°F (32°C), in a covered shallow container. Use within 3–4 days and reheat to 165°F (74°C).