
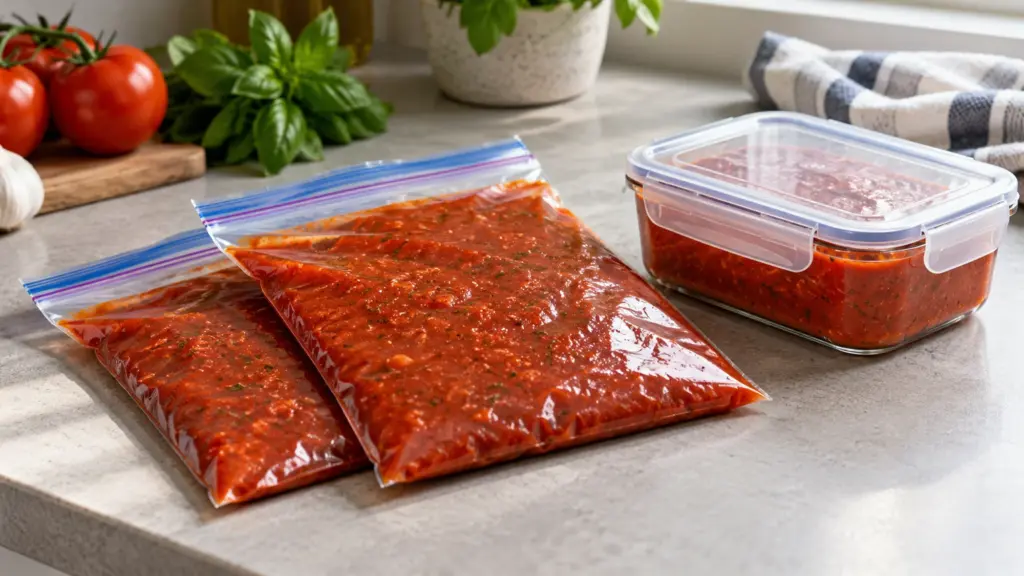
The freezer can hold tomorrow’s dinner or an anonymous bag of dried-out leftovers. Often the difference is a little attention before the door closes: the right container, less trapped air and a label you can actually use.
To help prevent freezer burn, use freezer-safe packaging, limit air around the food and keep the freezer at 0°F (−18°C). Leave the expansion space needed for liquids, then label and use your food while its quality is still good.
I’d rather freeze two meal-sized portions than one oversized block that becomes a project to thaw. A freezer works best when its contents are easy to recognize and easy to use—not just when everything technically fits.
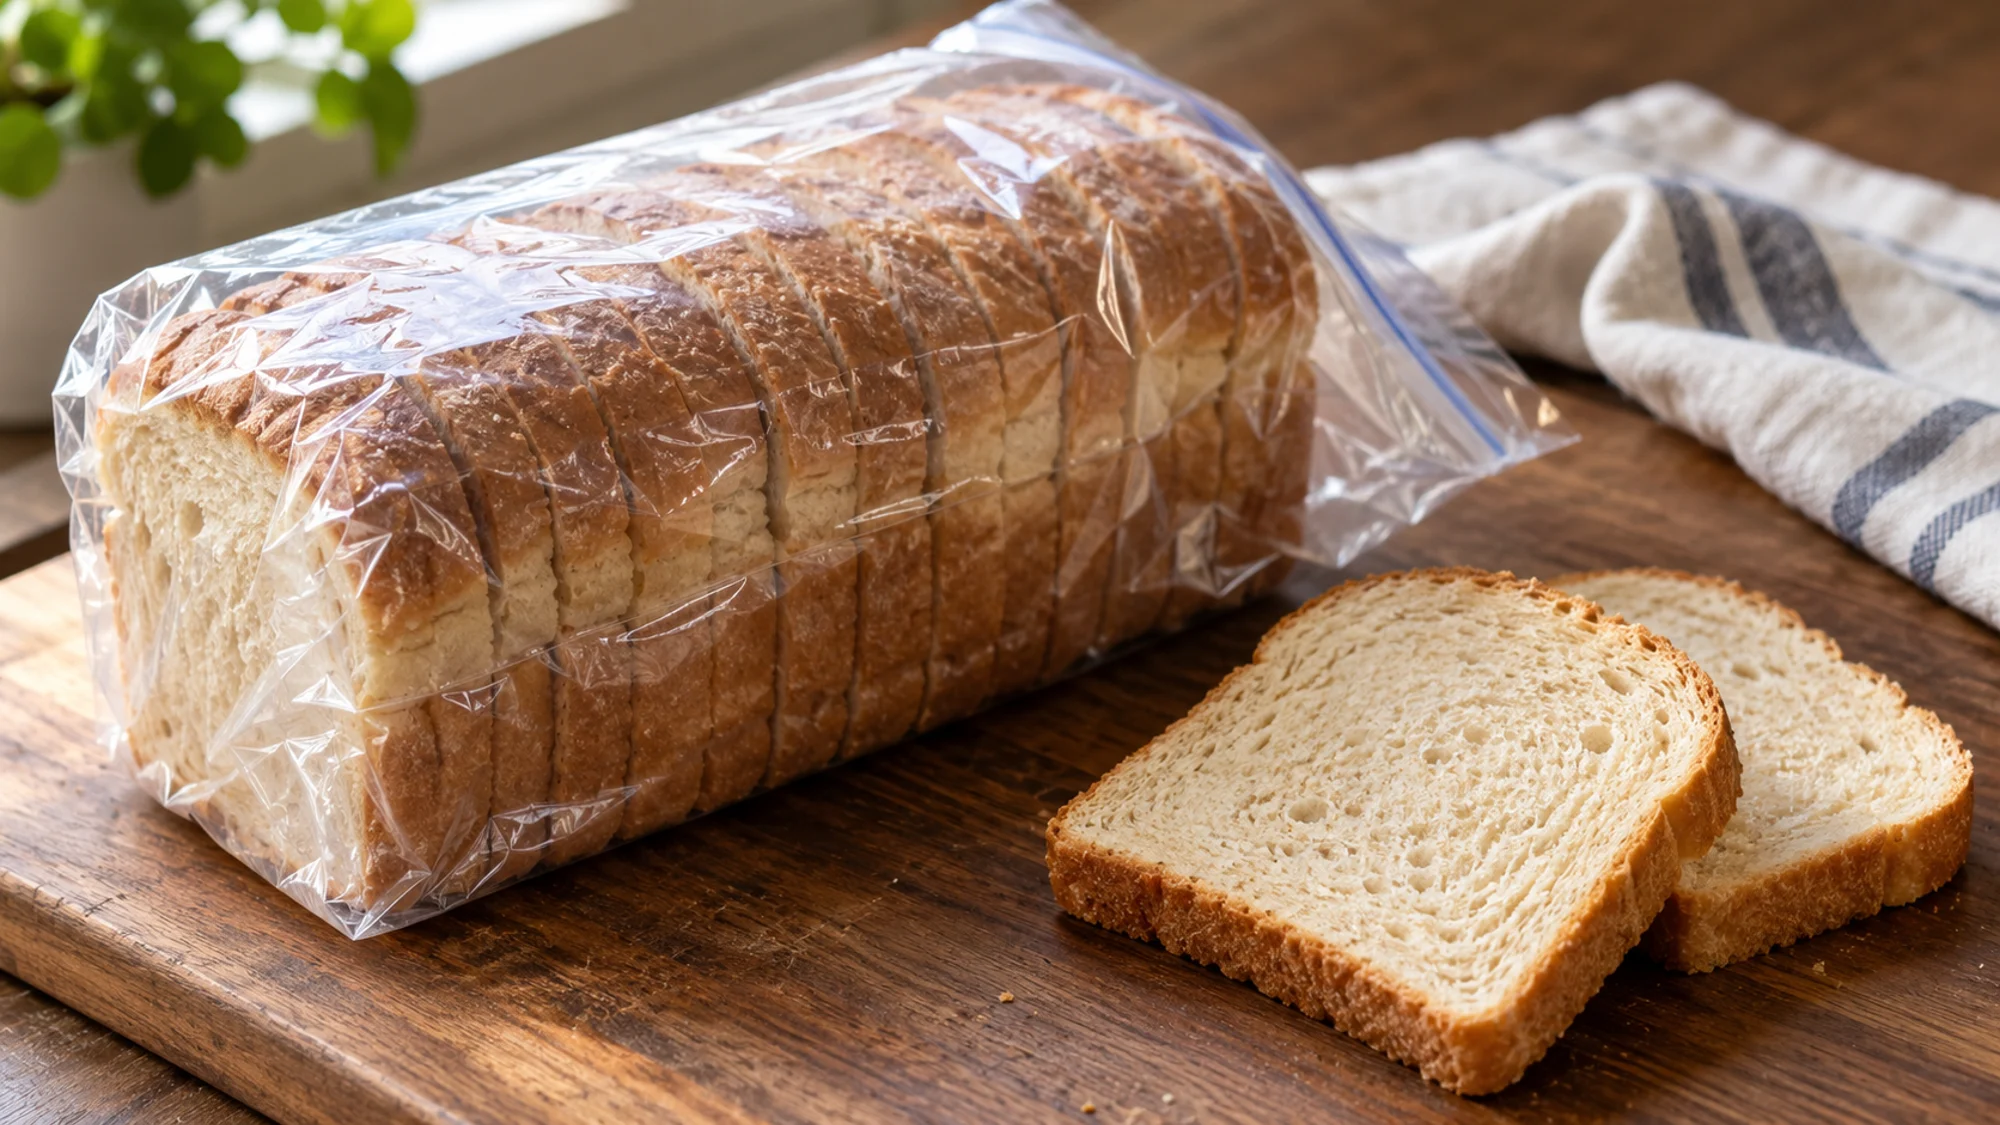
How to Prevent Freezer Burn Starts With Air
The USDA describes freezer burn as dry, leathery areas caused by air reaching the food’s surface. It can affect flavor and texture, but freezer burn itself does not make food unsafe. That distinction applies to food that was otherwise handled and stored safely.
A thin grocery bag, a lid that never quite clicks shut or a large pocket of air can leave food poorly protected. Freezing is not a reset button for older or mishandled food; better wrapping protects quality, not past mistakes.
- Check the seal before storing the package, not when you discover ice crystals weeks later.
- Choose a package close to the amount you are freezing instead of leaving a tiny portion in a huge container.
- Avoid poking holes in bags with sharp edges or forcing a package into a space that tears it.
Choose Packaging for the Food You Have
The USDA packaging guide recommends food-grade freezer materials that keep air out. Supermarket meat wrapping can be safe for freezing, but it is thin; an additional airtight freezer wrap helps protect quality during longer storage.
| Food or situation | Useful packaging | What to watch |
|---|---|---|
| Bread and other dry foods | Close-fitting freezer bag or suitable freezer wrap | Press out excess air without crushing the food. |
| Soup and sauce | Freezer-safe rigid container or suitable freezer bag | Allow the specified space for expansion. |
| Meat in thin store wrapping | Airtight freezer overwrap or freezer bag | Protect sharp edges that could puncture the package. |
| Small cooked portions | Appropriately sized freezer-safe containers | Keep sealing surfaces clean and close lids securely. |
A sturdy freezer bag and an ordinary sandwich bag are not necessarily equivalent. A vacuum sealer can be convenient, but buying a machine is not the first fix for a loose lid or a package that was never intended for freezing.
Less Air Does Not Mean Filling to the Brim
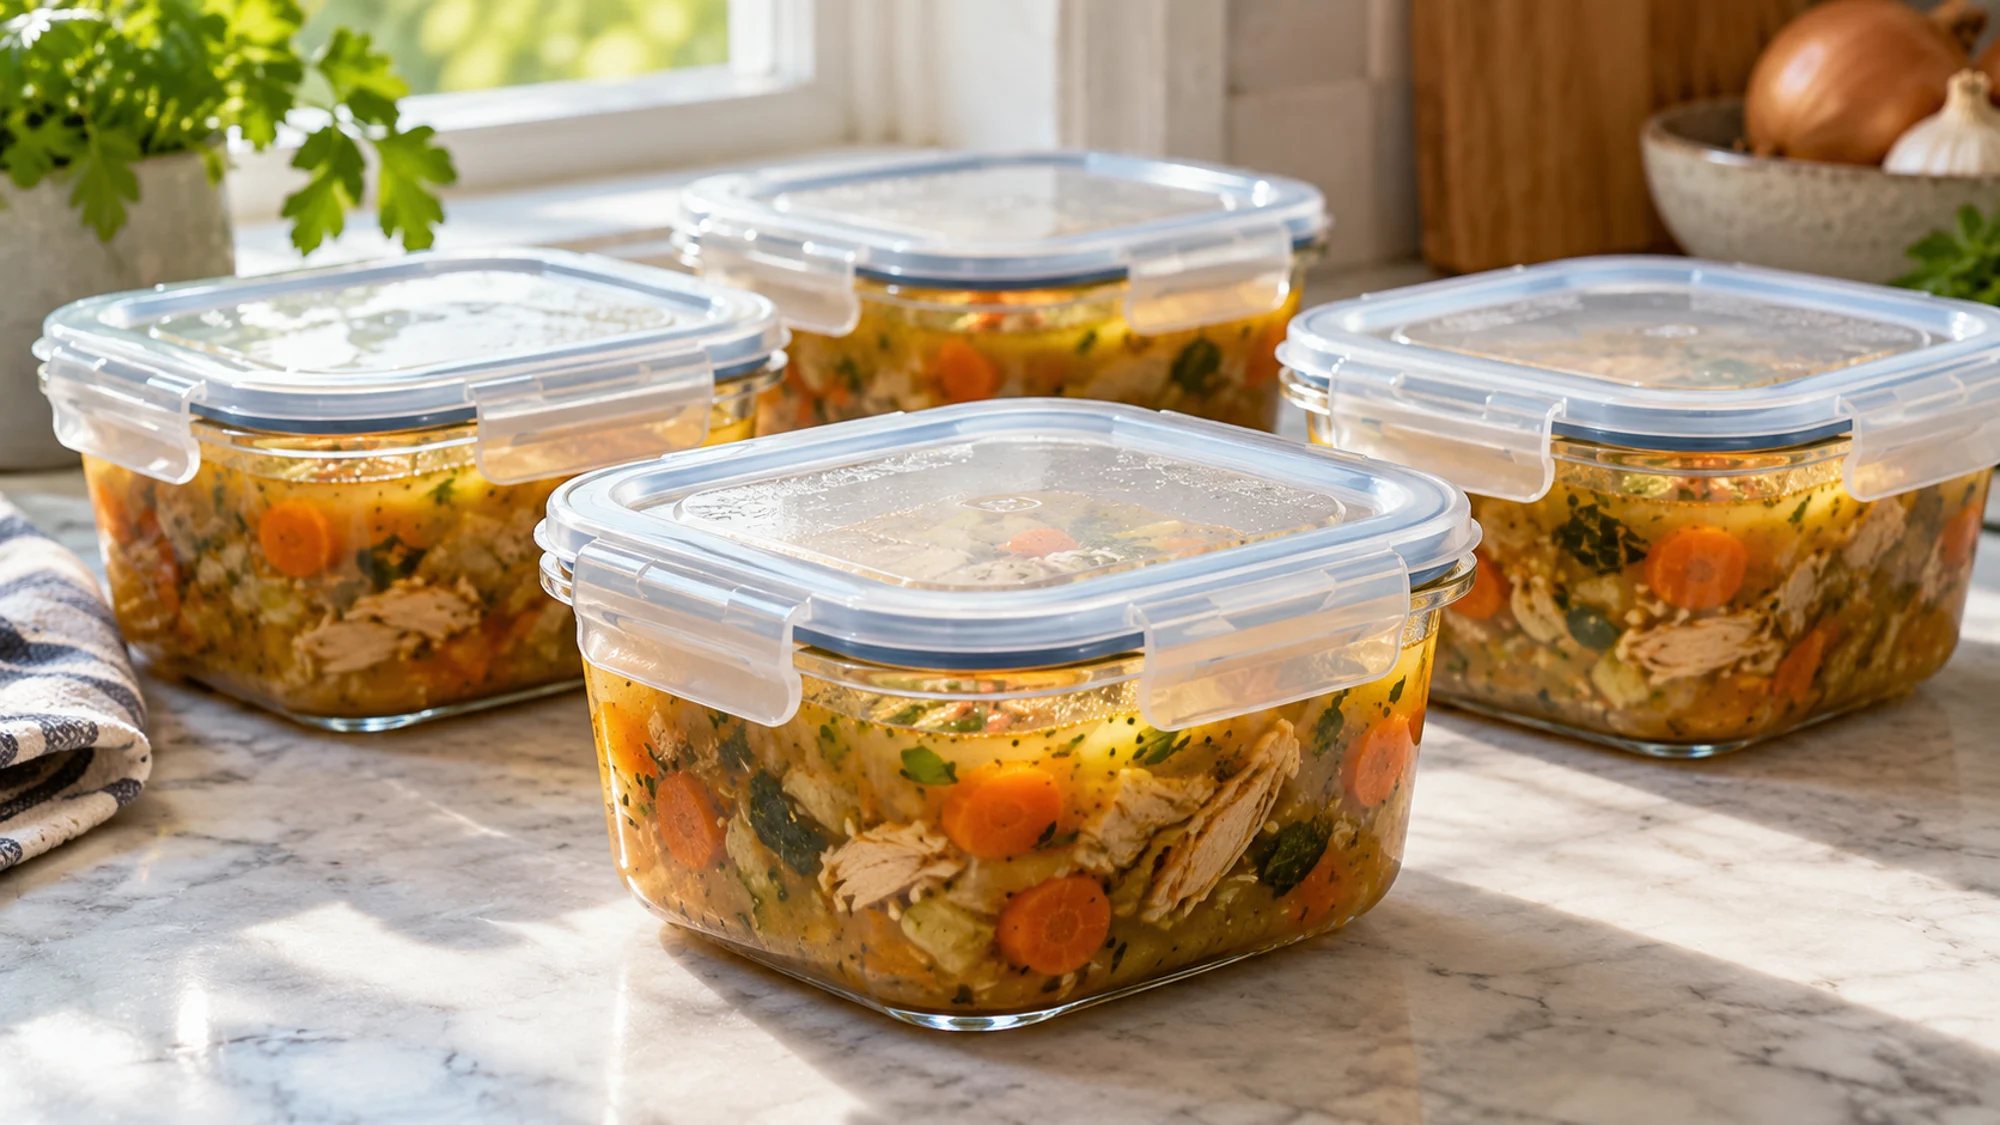
The University of Missouri freezing guide makes an important distinction: remove unnecessary air, but leave appropriate headspace when food expands during freezing. Follow the food-specific guidance and the container’s directions rather than applying one gap measurement to every food.
Liquids need room. Bread and other dry items usually need a close protective wrap, not a large air cushion. I like to decide the portion before choosing the container; it saves the awkward business of moving food through three different tubs.
- Cool safely: Follow FDA advice to divide leftovers into shallow containers for prompt refrigeration; do not leave a large pot on the counter until it finally feels cold.
- Pack in useful amounts: Think about the meal you will want later. Smaller portions can avoid repeatedly opening a larger package.
- Keep the rim clean: Food caught in the lid or bag closure can interfere with a good seal.
- Label clearly: Add the food name, freezing date and portion information before the package becomes cold and awkward to write on.
Temperature and Rotation Matter Too
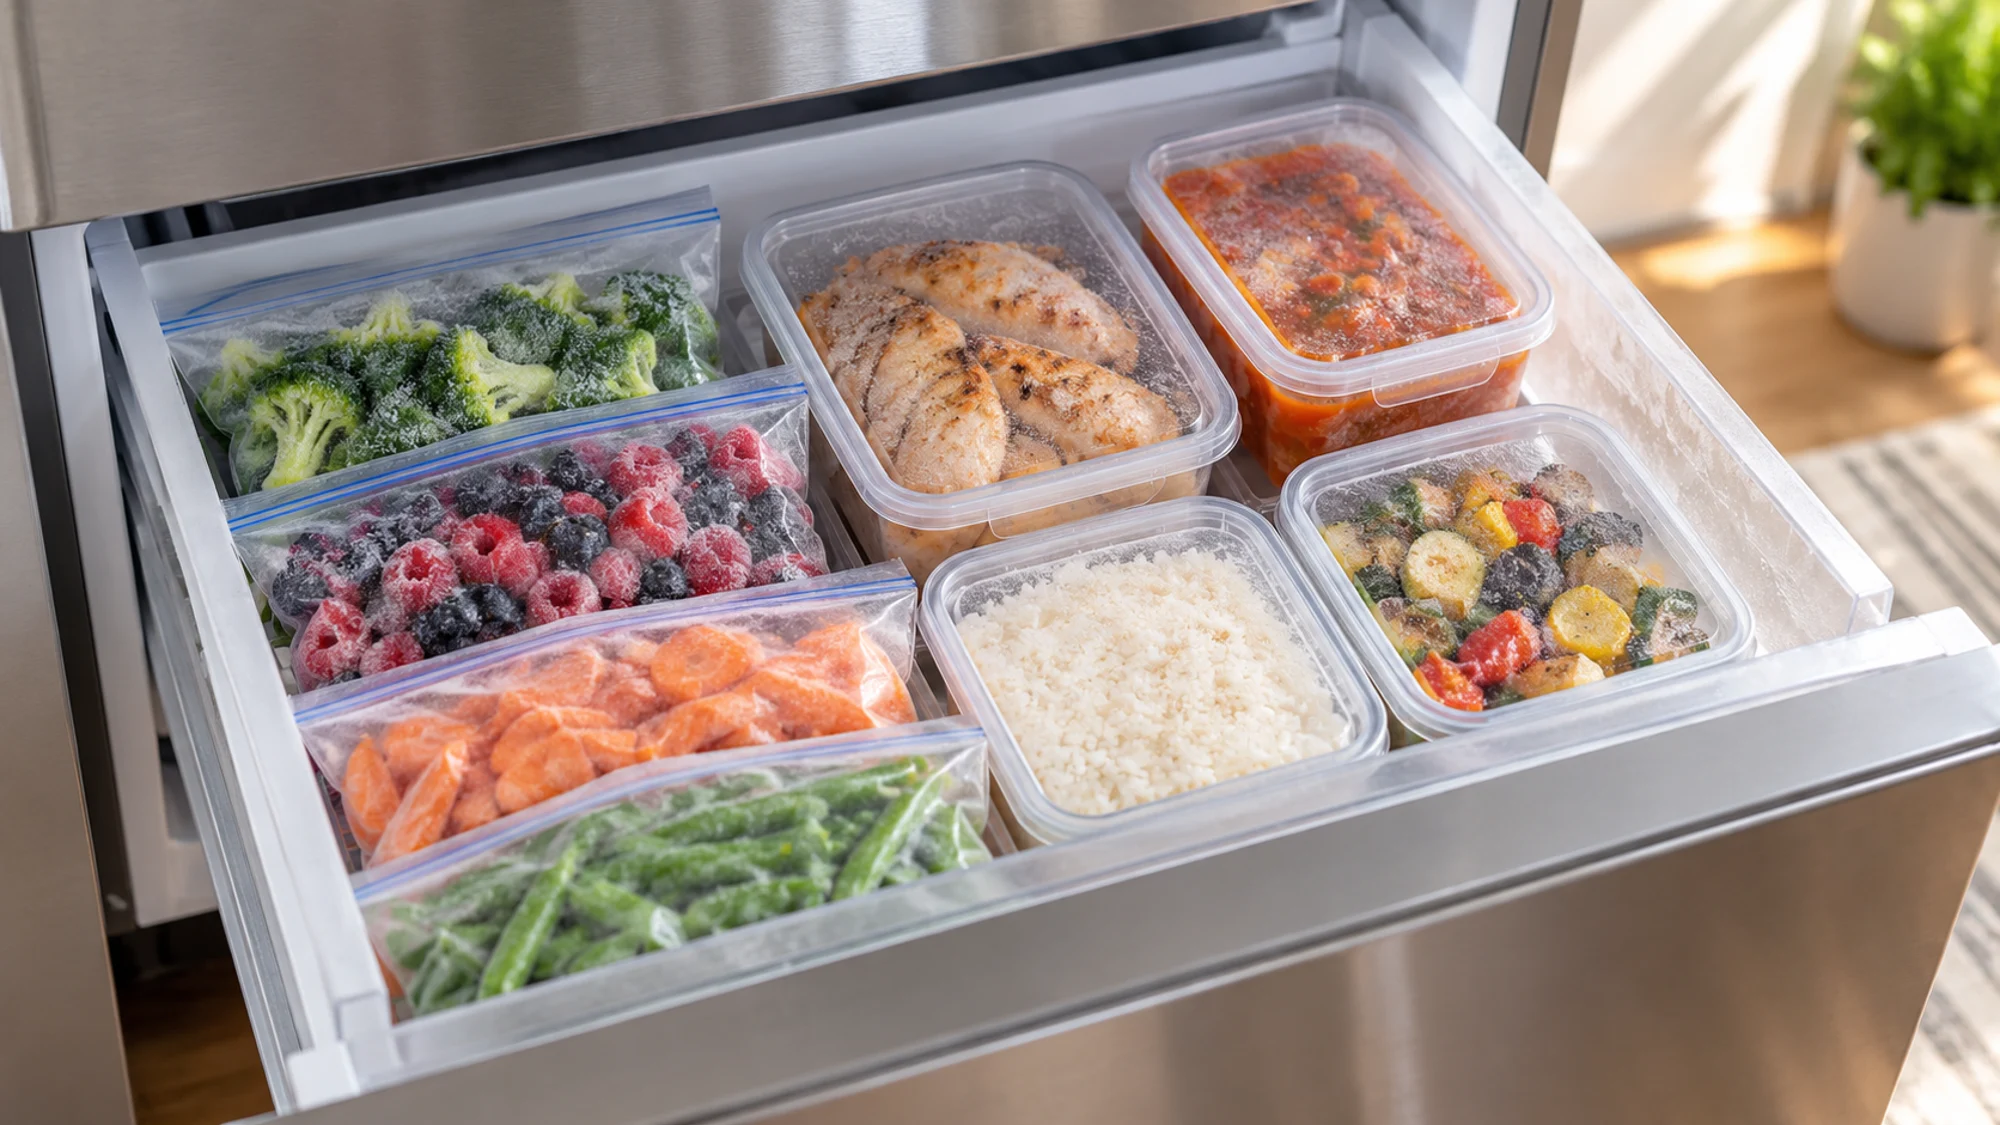
The FDA recommends a freezer temperature of 0°F (−18°C) and an appliance thermometer to check it. Avoid packing the appliance so tightly that air cannot circulate. A closed door and a working seal help the freezer do its job.
Keep the oldest suitable packages easy to reach and choose a place for newly frozen food. A brief inventory on paper or your phone can be more useful than rearranging everything each time you need dinner.
- Use food-specific quality guidance rather than one blanket storage time for every item.
- Do not judge safety by smell alone: food can contain harmful bacteria without looking or smelling spoiled.
- Thaw perishables safely, such as in the refrigerator, rather than leaving them on the counter.
- If food has thawed during a power problem or has an uncertain temperature history, follow official food-safety guidance for that situation; calling it freezer burn does not settle the question.
Bottom Line
If otherwise safely stored food has a small freezer-burned area, USDA says the affected portion can be cut away before or after cooking. Severely dried-out food may be worth discarding for quality, but decide safety from its handling history—not from the freezer-burn label.
Protect the food before it freezes: use the right packaging, reduce unnecessary air, leave needed expansion room and keep dates visible. The best freezer routine is one that helps you use the food you saved.
Illinois Extension’s webinar below explains freezing, packaging and headspace; its freezer-burn discussion begins around 17:37.