
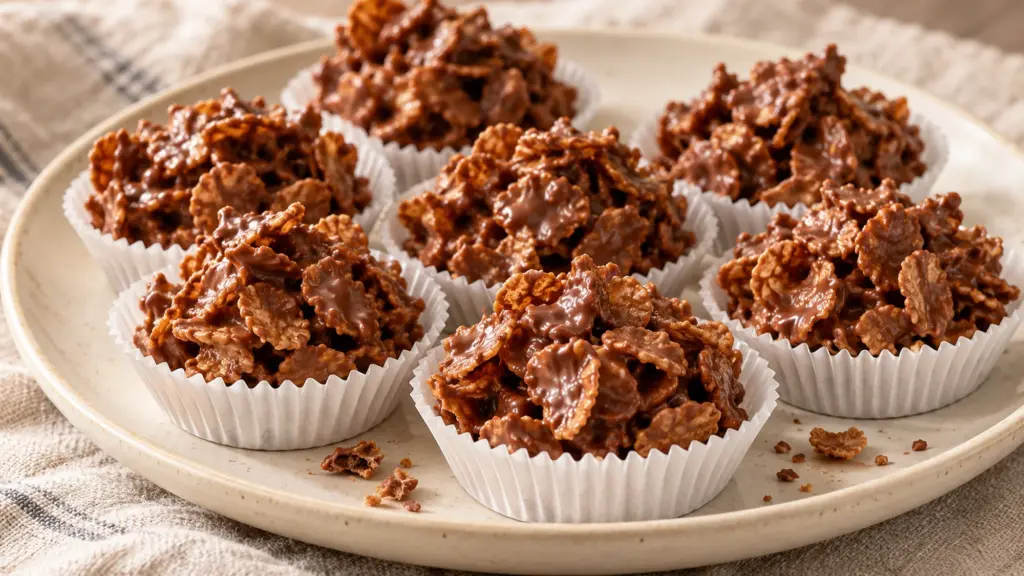
A half-open box of cereal can become dessert without turning on the oven. These cornflake cakes are small, crunchy chocolate clusters rather than sponge cakes: the flakes hold their shape, the chocolate binds them together, and a paper case catches the inevitable crumbs.
Use dry, crisp cornflakes and melt the chocolate gently. Fold rather than beat, then chill the little mounds until they lift cleanly from their cases. Two ingredients are enough for a firm, chocolatey crunch.
This version leaves out butter and syrup for a straightforward chocolate coating. I’d choose a milk chocolate you enjoy eating on its own; with such a short ingredient list, its flavor is doing most of the work. A kitchen scale also helps keep the coating-to-cereal balance consistent.
Serving Cornflake Cakes Without Losing the Crunch
Let the cakes set completely before arranging them on a plate. Their rough edges are part of the appeal, so there is no need to press them into smooth, dense balls. A little space between the coated flakes makes each bite less solid than a block of chocolate.
Serve them in their paper cases with tea, coffee, or a bowl of fresh berries on the side. For a chilled dessert with a softer middle, try our chocolate strawberry yogurt clusters. The cornflake version is the choice when you want crispness all the way through.
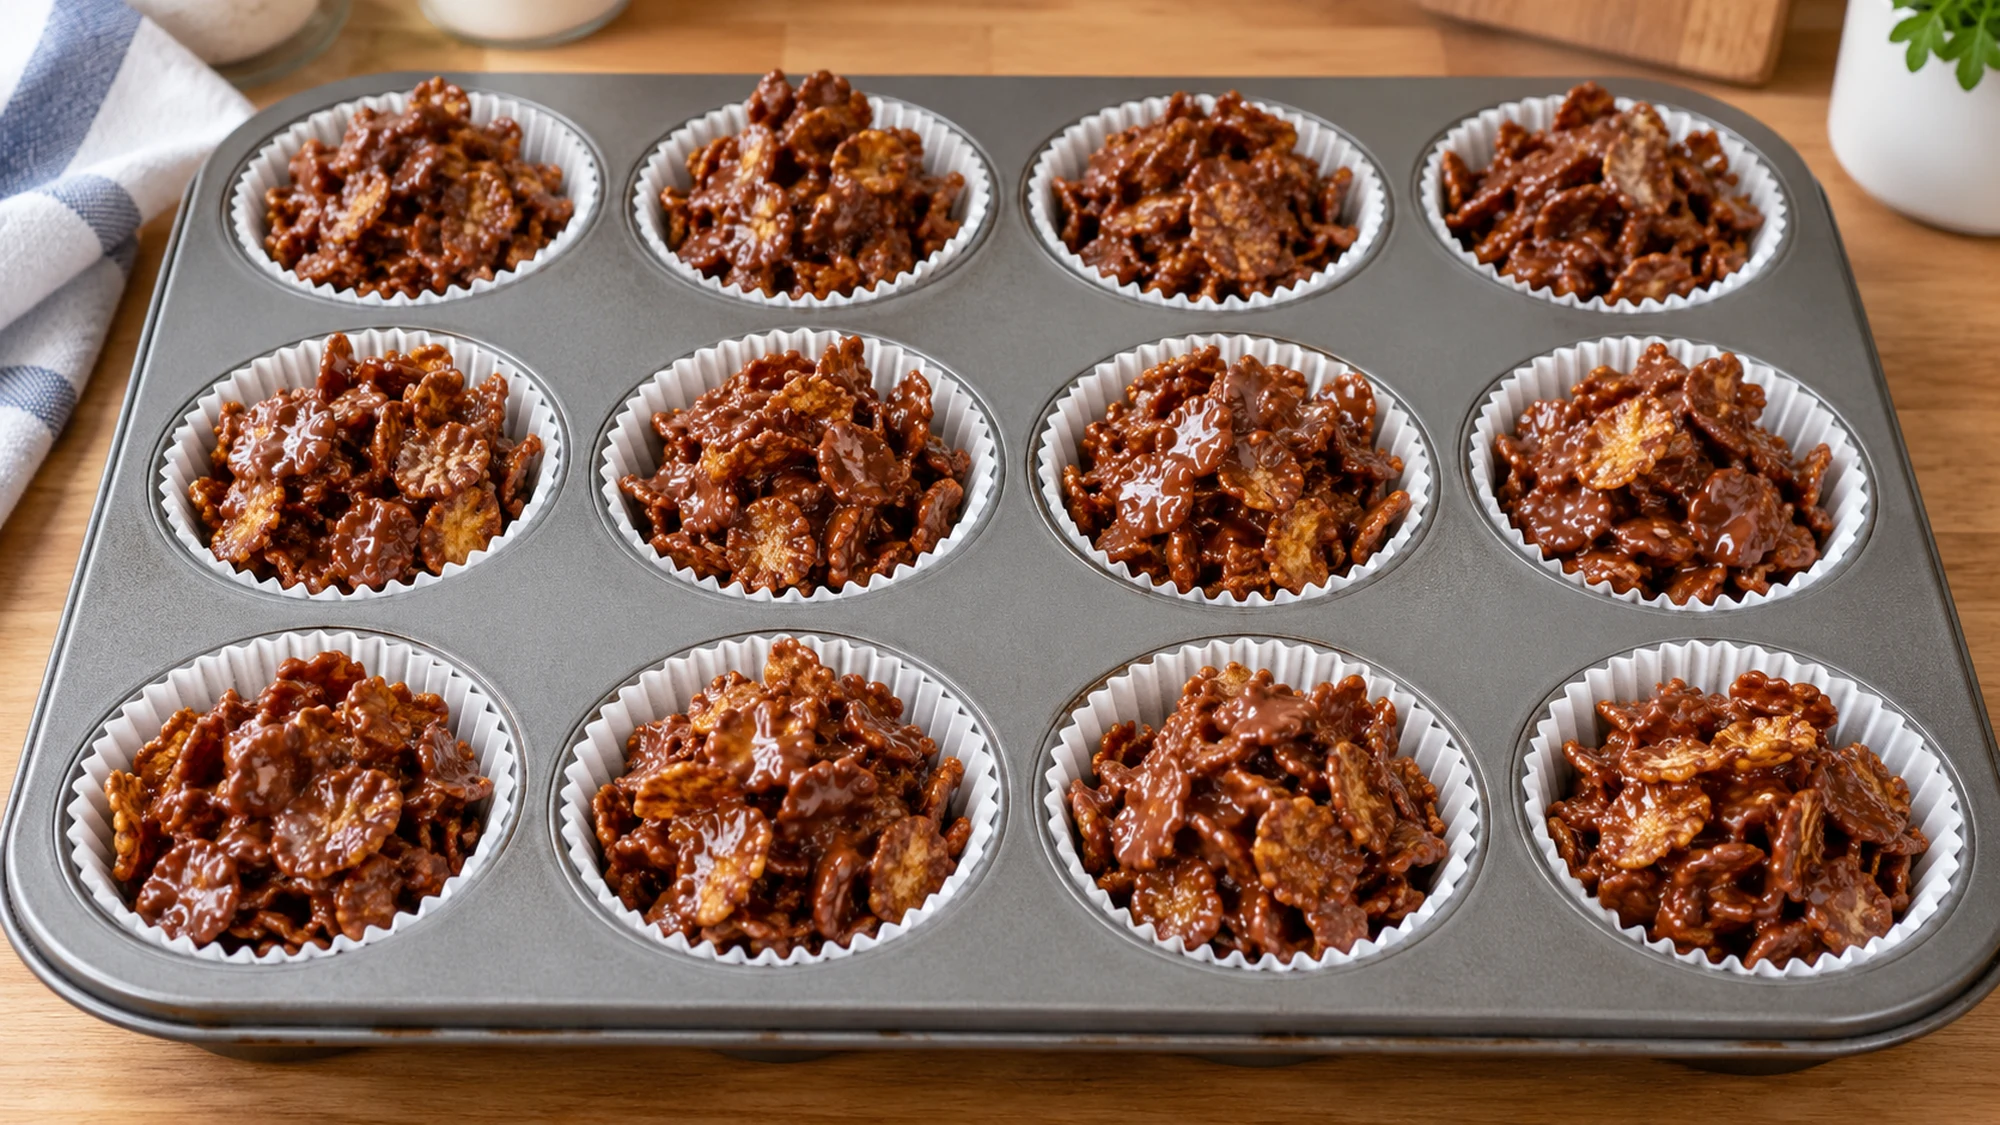
- For a dessert tray, keep the portions small enough to pick up easily; this batch makes 12 modest cakes.
- For a lunchbox, pack one in a rigid container so the flakes do not get crushed. Keep it away from heat that would soften the chocolate.
- For children helping in the kitchen, let an adult handle hot bowls and melting. Children can arrange the paper cases and help with gentle folding once the bowl is safe to touch.
I prefer a small, irregular cluster to an overfilled case. It is easier to bite, and every portion gets its share of chocolate without becoming a dense lump.
Cornflake Cakes Variations and Melting Tips
Keep the mixing bowl and spoon completely dry. Nestlé’s chocolate-melting directions emphasize keeping water out and stirring between short heating intervals. Chocolate can keep its shape while becoming soft, so stir before deciding it needs more heat.
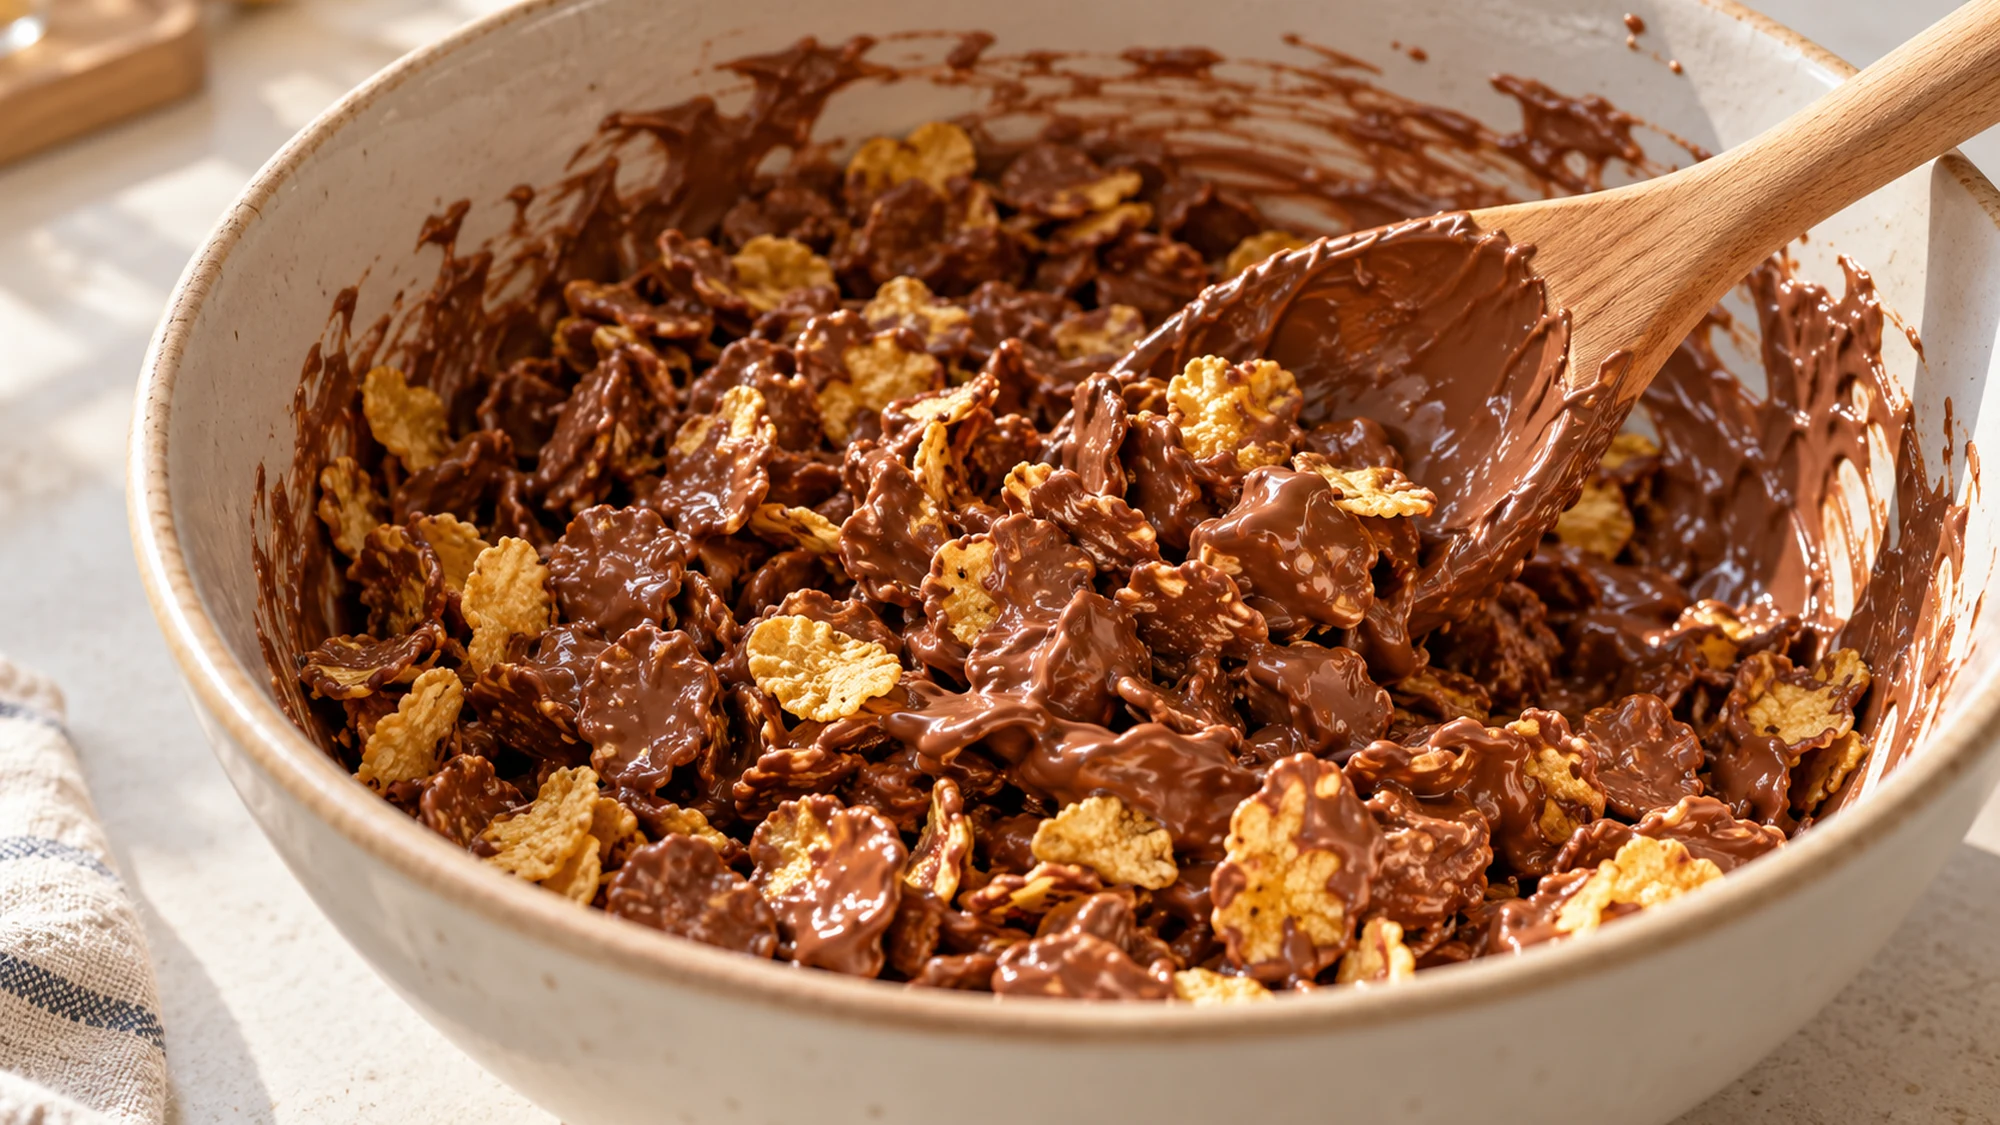
Once the chocolate is smooth, fold in the cereal with a broad spoon or spatula, lifting from underneath. Stop when the flakes are coated. Crushing them into small crumbs changes the texture, and adding extra cereal to use up the box can leave the cakes too loosely bound.
| Choice | What changes | Keep in mind |
|---|---|---|
| Milk chocolate | Sweet, creamy coating | The written recipe and nutrition estimate use this. |
| Dark chocolate | Deeper cocoa flavor | Use the same weight; sweetness and firmness differ. |
| Frosted cornflakes | Extra sweetness | Plain flakes give better control over sweetness. |
| Gluten-free cornflakes | A suitable cereal option for some diets | Check certification and chocolate labels; ordinary cornflakes may contain barley malt. |
If the mixture looks uneven, fold a little longer before changing the quantities. Gentle mixing protects the flakes; extra heat or vigorous stirring will not improve their crunch.
Health Benefits: Keep the Dessert in Perspective
Cornflake cakes are a sweet treat, not a high-fiber breakfast or a protein snack. The cereal supplies carbohydrates, while the chocolate contributes much of the sugar and fat. Dividing the batch into individual cases makes the portion size clear without needing to label the food good or bad.
The manufacturer’s cornflake nutrition and ingredient information is useful when comparing cereal brands. Fortification and salt levels vary, and the finished dessert contains much less cereal than a full breakfast bowl.
- Milk chocolate contains milk and may contain soy; check the package for other allergens and cross-contact statements.
- Do not assume a corn-based cereal is gluten-free. Barley malt is a common ingredient in standard cornflakes.
- The calorie estimate includes all the chocolate and cereal divided into 12 cakes. Changing the chocolate or making larger portions changes the estimate.
Enjoy these for their crisp chocolate texture. A short ingredient list makes shopping simpler, but it does not turn a dessert into a health claim.
Bottom Line
Store the set cakes in an airtight container in the refrigerator and aim to enjoy them within three days for the best crunch. Keep moisture out, and let a portion stand briefly if the chilled chocolate feels too firm. Avoid leaving the whole container open while choosing one.
Cornflake cakes need gentle melting, light folding and enough chilling time—not an oven or a complicated finish. Start with crisp cereal, leave the flakes intact, and let the chocolate hold the little mounds together.
Cornflake Cakes Recipe

Ingredients
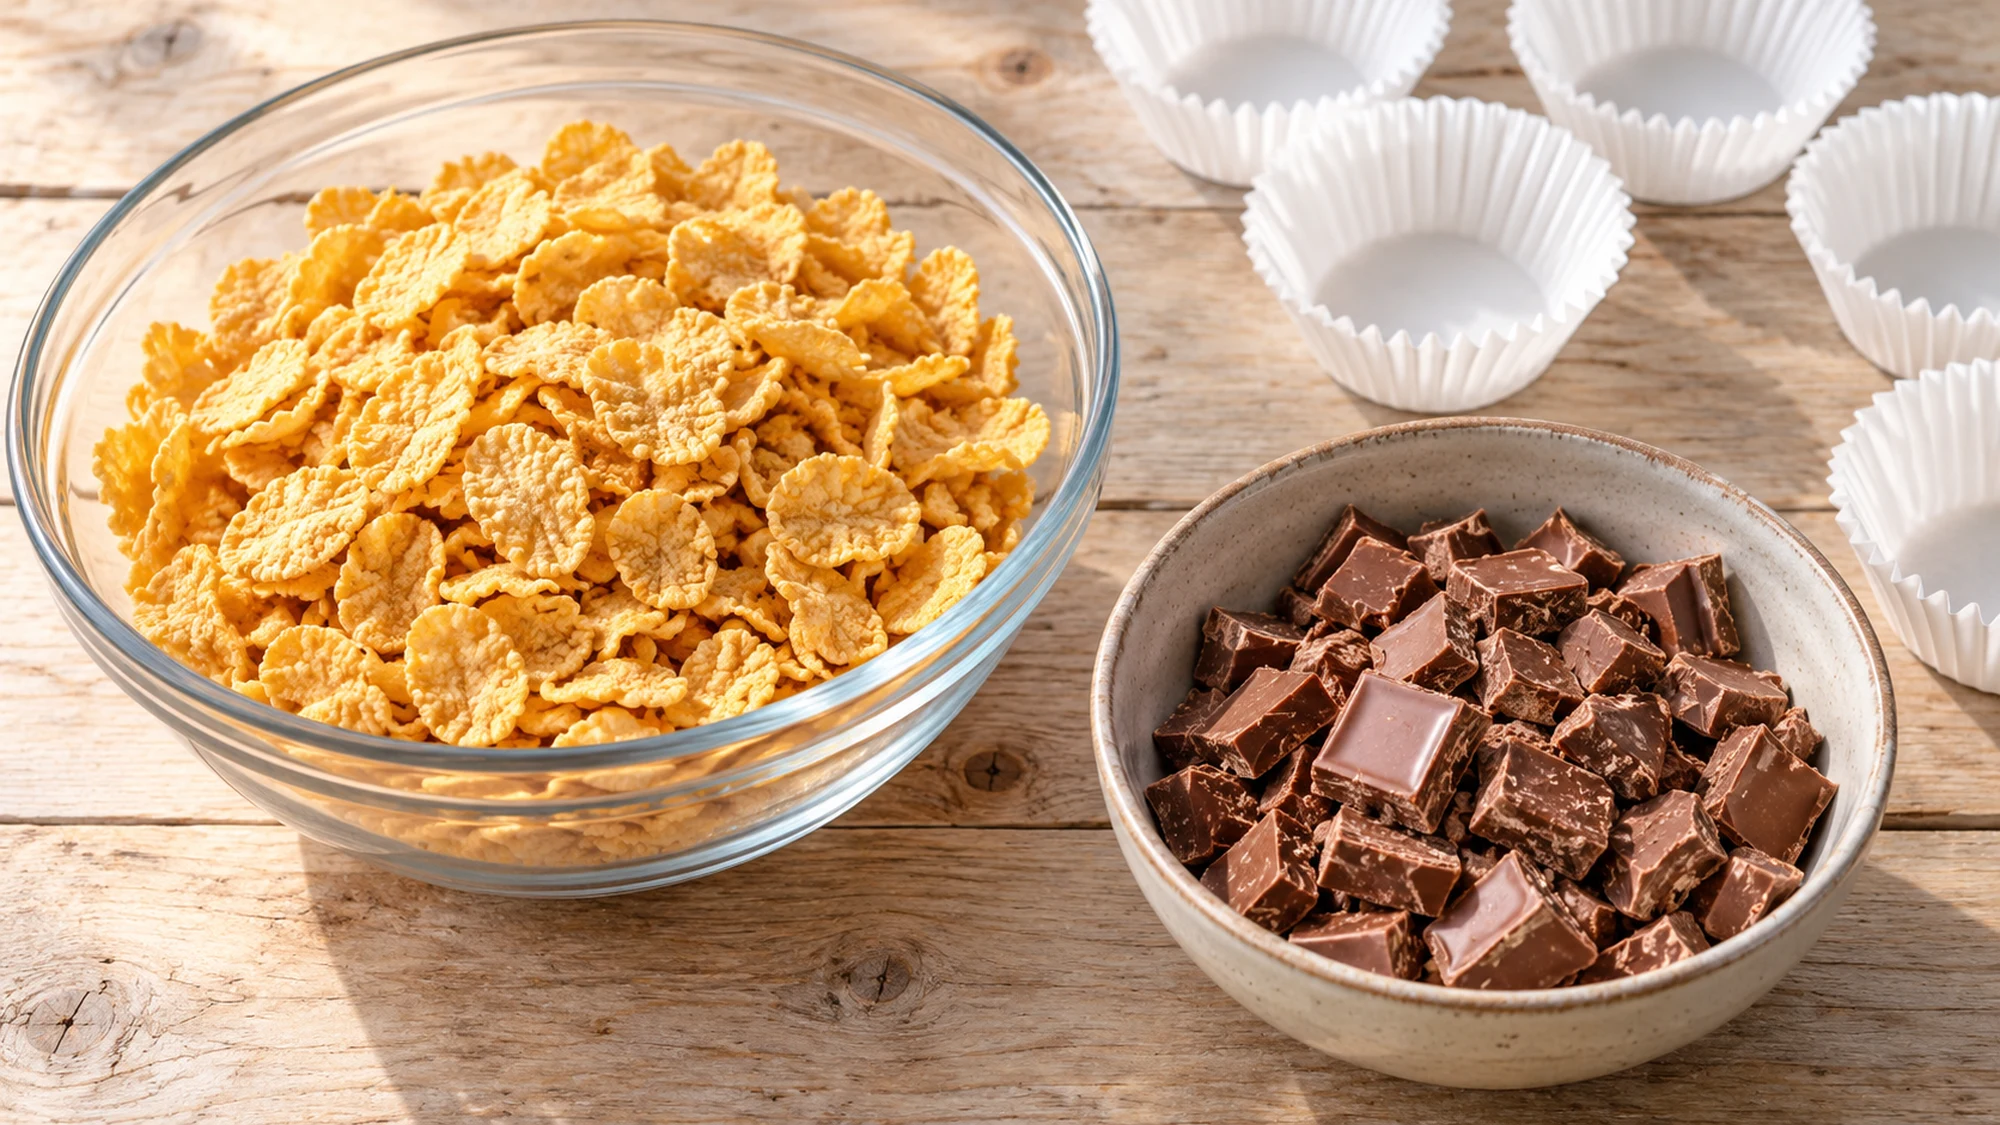
- 200 g milk chocolate Chopped, or use milk chocolate morsels.
- 80 g plain cornflakes Fresh and crisp; not frosted.
Equipment
- Microwave-safe mixing bowl
- Kitchen scale
- Spatula
- 12-cup muffin pan and paper cases
Instructions
- Line a 12-cup muffin pan with paper cases. Measure the cornflakes into a large dry bowl. Put the chocolate in a separate dry microwave-safe bowl.
- Microwave the chocolate for 30 seconds, then stir thoroughly. Continue in 10–15-second bursts, stirring each time, until just smooth. Stop heating when small remaining pieces melt as you stir. The bowl may be hot; adults should handle this step.
- Pour the melted chocolate over the cornflakes. Fold gently with a spatula, lifting from the bottom until the flakes are evenly coated without crushing them.
- Divide the mixture among the 12 cases in small mounds, using two spoons. Nudge loose flakes together lightly without packing the cakes tightly.
- Refrigerate for about 1 hour, or until the chocolate is firm and each cake lifts from its paper. Chilling time varies with the chocolate and refrigerator.
- Store in an airtight container in the refrigerator and enjoy within 3 days for best texture. Let a chilled portion stand briefly before eating if the chocolate is very firm.