
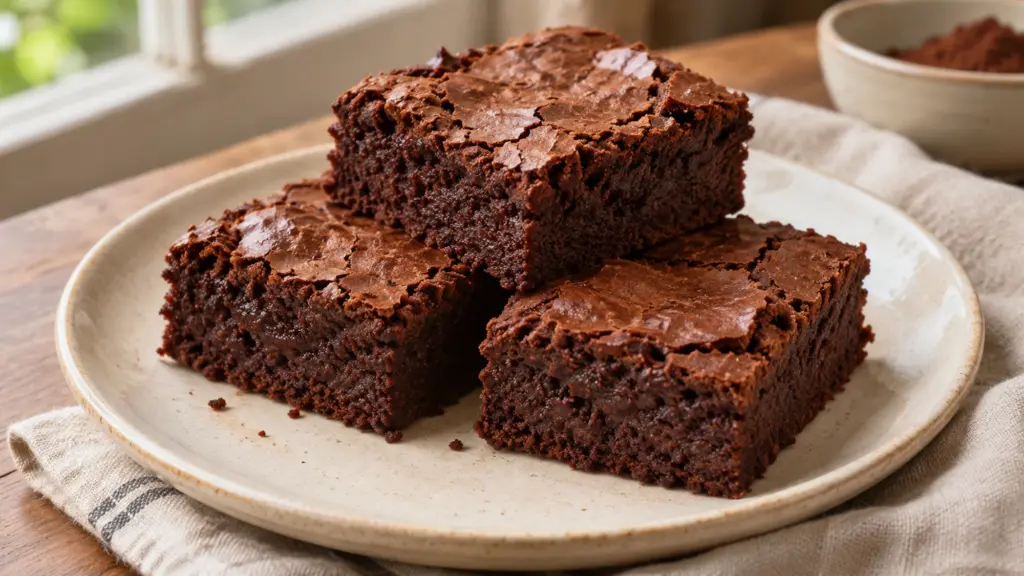
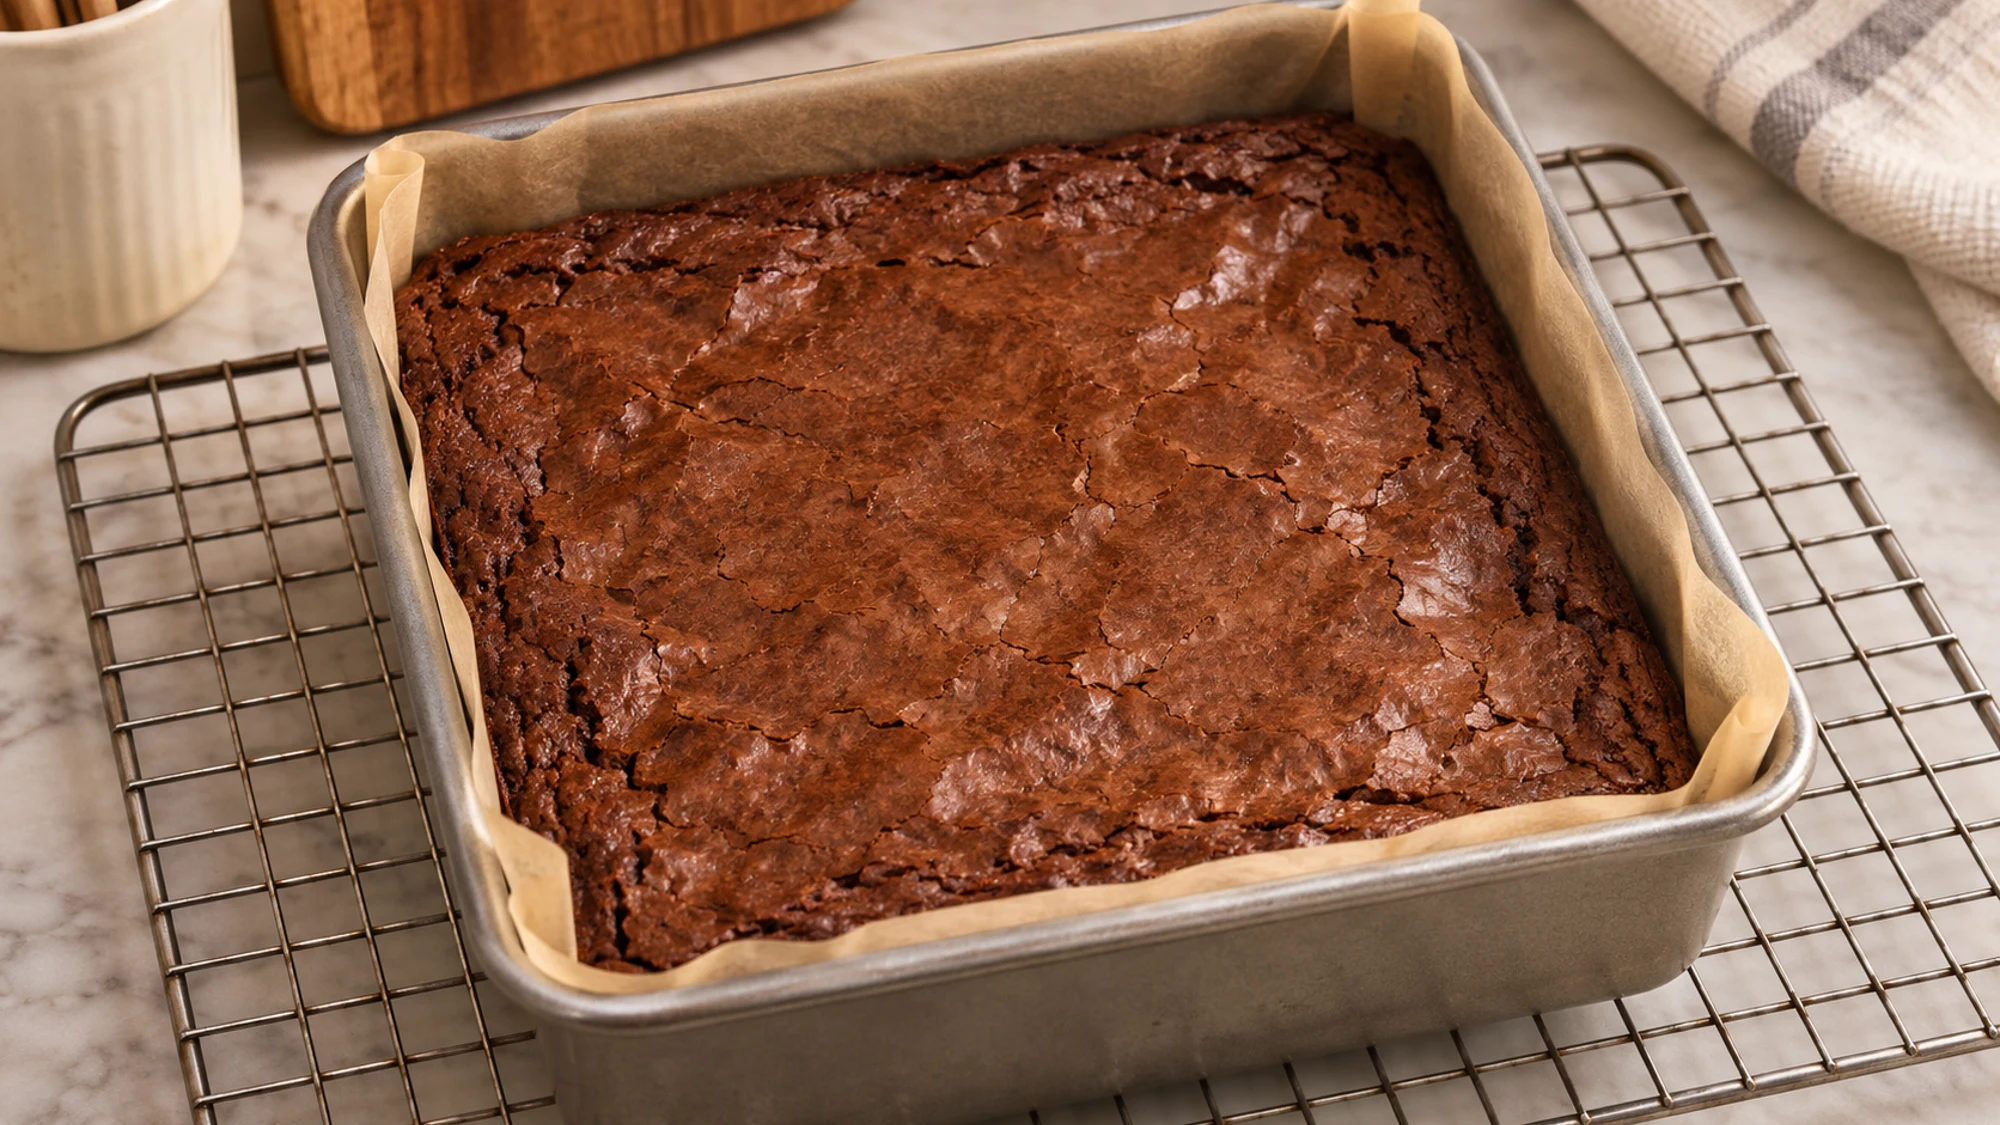
The knife comes down, the top gives a little crackle, and the middle should hold together without turning dry. That is the point of this brownie: a plain cocoa square with a dense center, made with melted butter and a short ingredient list. The most useful finishing touch is not frosting. It is enough cooling time to let the crumb settle.
Use an 8-inch square metal pan, measure the flour carefully, and start checking before the longest baking time. Look for set edges and moist crumbs on the tester, not liquid batter. Let the slab cool completely before cutting sixteen small squares.
I prefer this version without chips or nuts because the contrast between the delicate surface and the soft middle stays clear. There is no mixer to haul out, and no separate chocolate-melting step. The batter is thick; spreading it into the corners is part of the job, not a sign that it needs extra liquid.
Serving Suggestions for a Fudgy Brownie
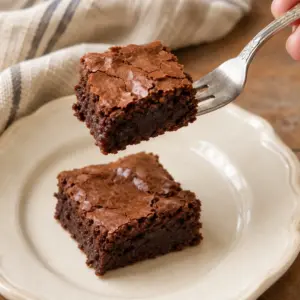
Serve the squares at room temperature for a softer bite, or slightly chilled if you like a firmer center. A warm square is pleasant with a spoon, but cutting the whole pan while hot is how tidy portions become a chocolate excavation project.
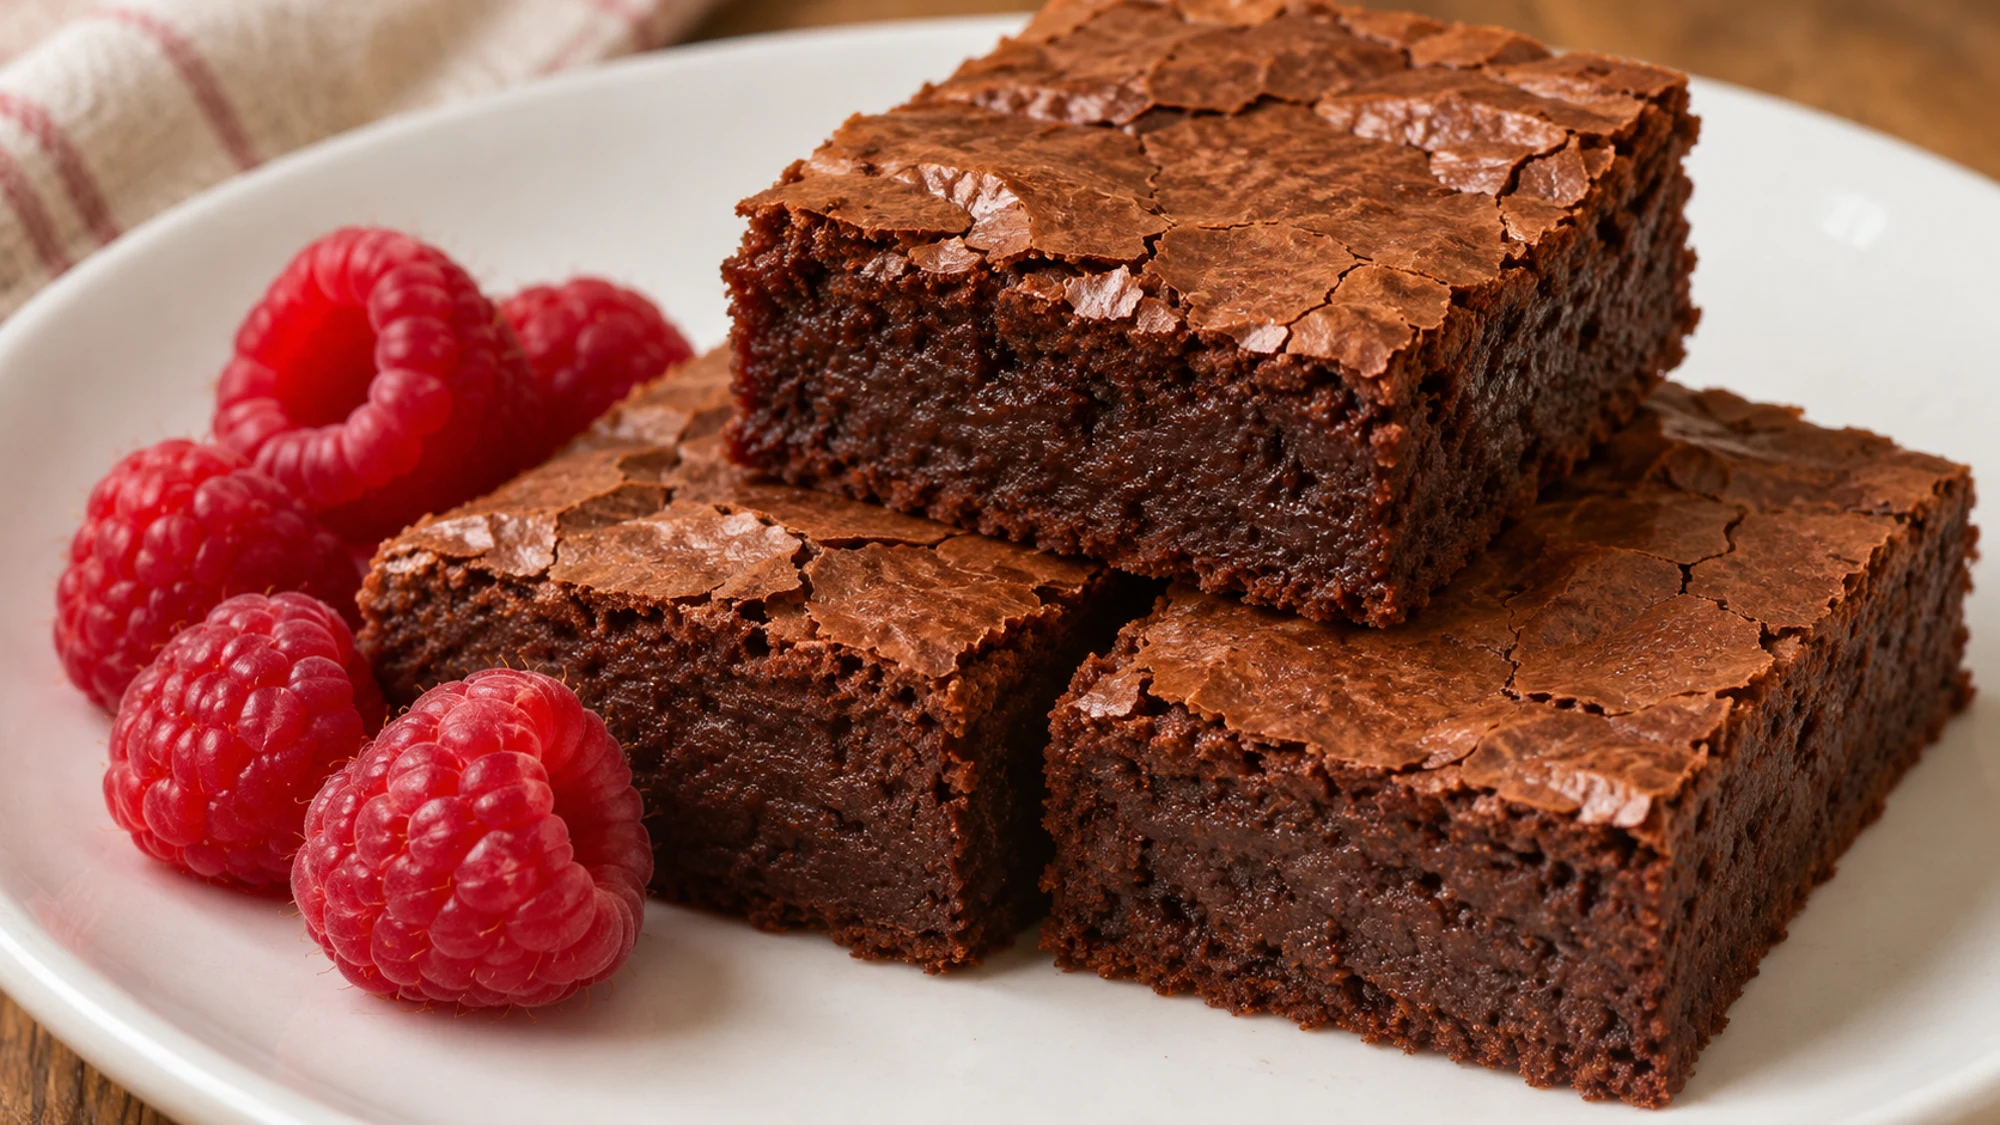
- Keep the plate simple: fresh raspberries or sliced strawberries bring tartness beside the brownie. Add them just before serving rather than folding wet fruit into the batter.
- Make a dessert platter: cut small, even squares and leave space between them. Stack only after they are fully cool so the thin tops do not stick together.
- Choose a different texture: for a softer, frosted dessert, the separate chocolate cake recipe with cocoa buttercream offers a useful contrast. These brownies are deliberately denser.
- Pack without crushing: use a rigid container and parchment between layers. A loose bag protects neither the corners nor the crackly tops particularly well.
For the cleanest edges, lift out the cooled slab with its parchment sling, use a sharp knife, and wipe the blade between cuts. Choose the serving size before starting rather than chasing uneven strips around the pan.
Brownie Variations and the Changes That Matter
Keep the basic formula steady on the first batch. Flour, fat, sugar and eggs all affect texture; a sweeping sugar reduction or an extra handful of flour is not merely a flavor adjustment. King Arthur Baking’s comparison of brownie textures explains why different formulas lead to different results.
| Choice | What changes | Useful limit |
|---|---|---|
| Natural cocoa | Lighter color, sharper cocoa note | Use unsweetened baking cocoa |
| Dutch-process cocoa | Darker color, mellower flavor | Keep the same weight |
| Fresh berries alongside | Cool, tart contrast | Add at serving, not to this batter |
| A larger pan | Thinner squares, faster baking | The written timing is for an 8-inch pan |
- Weigh cocoa and flour when possible. Scooping flour directly with a measuring cup can pack in more than intended.
- Fold only until the dry pockets disappear. Scrape the bottom of the bowl, where flour likes to hide.
- Start the doneness check early. Ovens and pans differ, and a clock cannot distinguish a moist crumb from raw batter.
I would change the serving extras before changing the batter. That gives you room to personalize dessert without accidentally turning a dense square into a different kind of bake.
Health Benefits: Keep Dessert in Perspective
This is a butter-and-sugar dessert, not a health treatment disguised as chocolate. A defined sixteen-square yield makes the portion clear without pretending that cocoa cancels the rest of the ingredients. Enjoy the flavor, and choose any fruit or other accompaniment because you like it.
- Allergens: the recipe contains wheat, milk and eggs. Check packaged ingredients for any additional allergen information.
- Raw batter: flour and eggs must be cooked. The FDA’s flour safety guidance advises against tasting raw batter and recommends washing hands and work surfaces after handling it.
- Cooling and packing: let steam escape before covering the pan. Wrap fully cooled squares securely, and freeze individual portions when you want to keep them for later.
A fudgy texture should come from the recipe and careful baking, not from serving liquid batter. Keep the doneness check and the cooling time separate: both matter.
Bottom Line
This brownie keeps the focus on cocoa, a thin crackly top and a dense middle. Measure thoughtfully, use the specified pan, and give the finished slab time to cool. A clean cut is the last small step that makes a simple bake feel finished.
Brownie Recipe

Ingredients
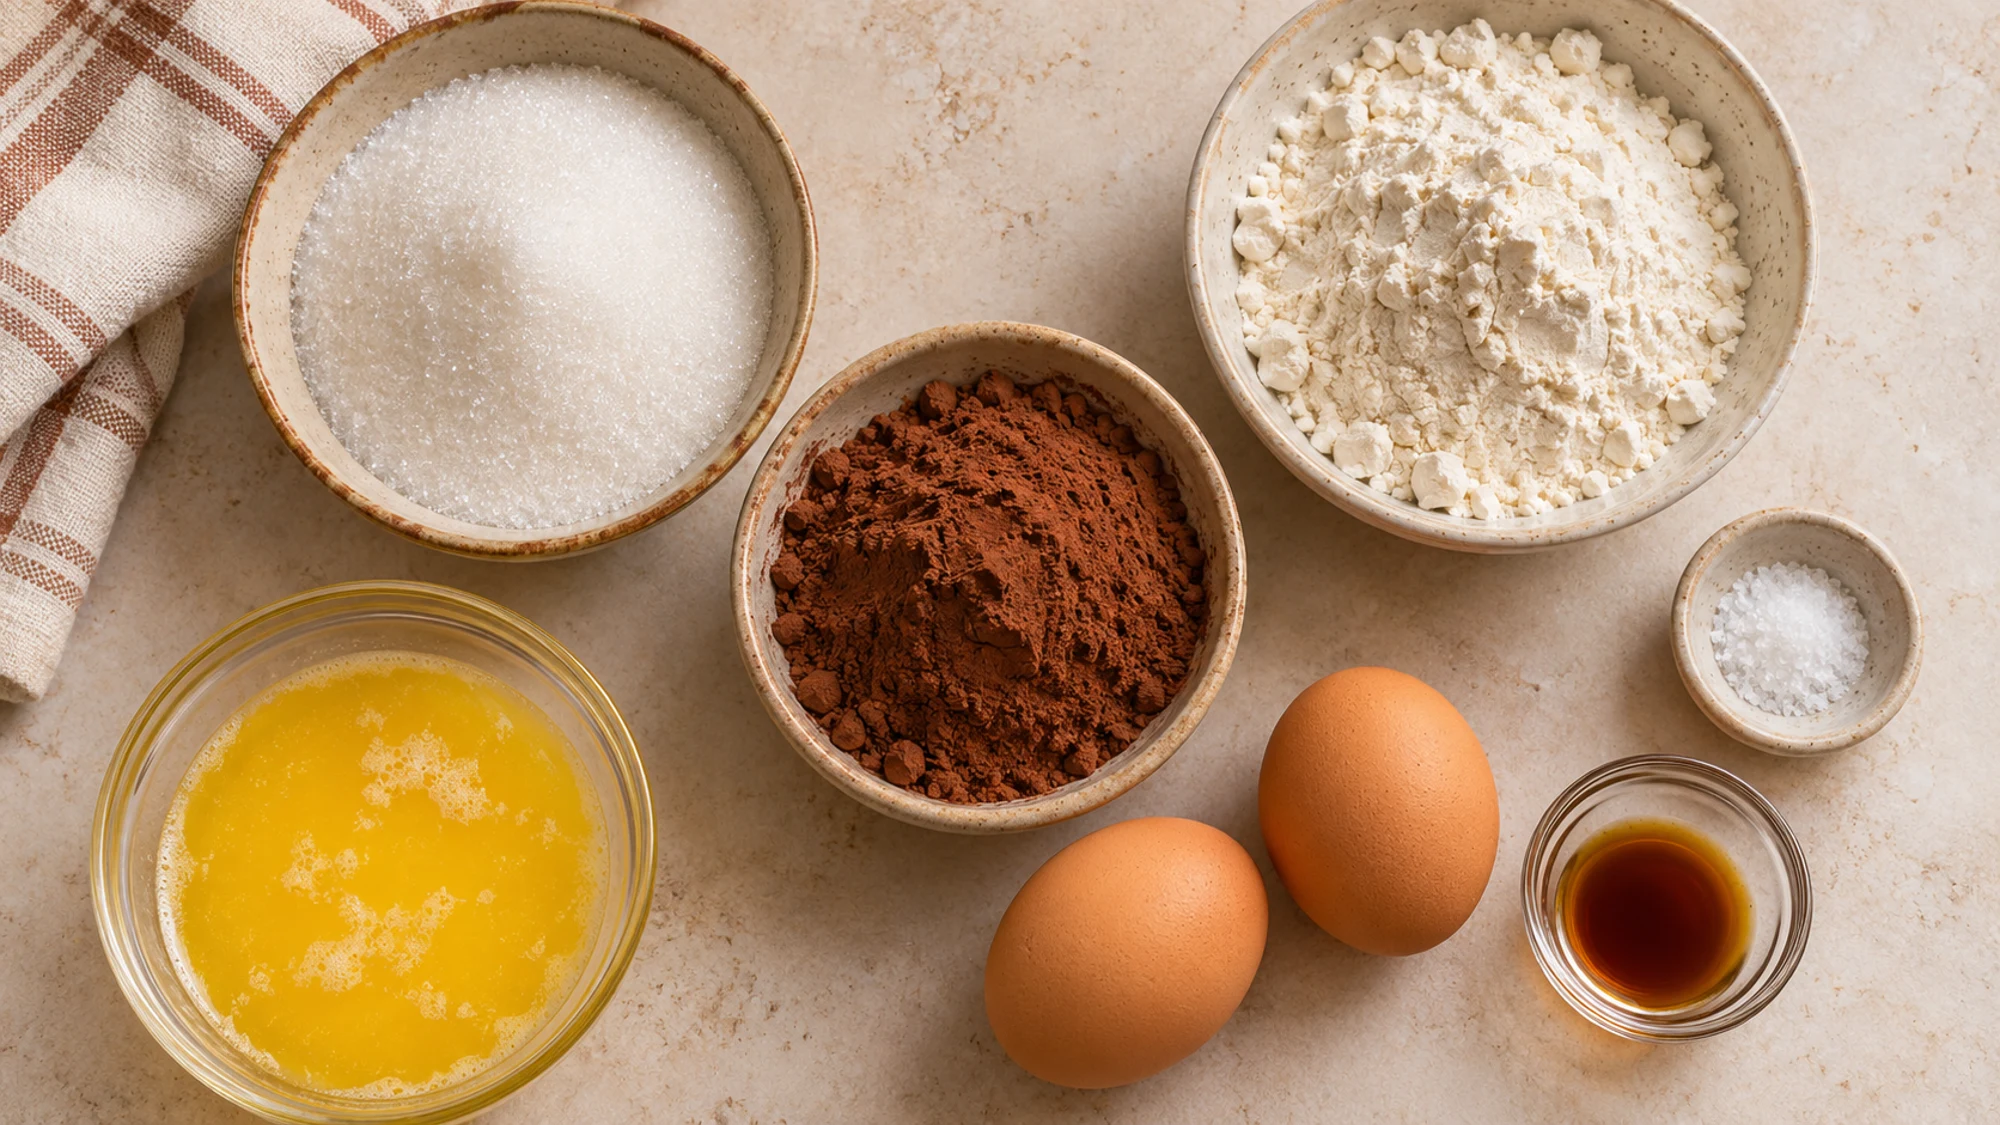
- 113 g unsalted butter melted and warm, not hot (1/2 cup)
- 200 g granulated sugar 1 cup
- 2 large eggs
- 1 teaspoon vanilla extract
- 45 g unsweetened cocoa powder about 1/2 cup; weigh for accuracy
- 60 g all-purpose flour 1/2 cup, spooned and leveled
- 0.25 teaspoon fine salt
Equipment
- 8-inch square metal baking pan
- Parchment paper
- Mixing bowl
- Whisk
- Flexible spatula
- Kitchen scale or measuring cups and spoons
Instructions
- Heat the oven to 350°F (175°C). Line an 8-inch square metal pan with parchment, leaving an overhang on two sides. Keep the prepared pan on the counter until filled.
- Whisk the warm melted butter and sugar in a bowl until well combined. Add eggs and vanilla and whisk vigorously for about 1 minute, until the mixture looks smooth and slightly thickened.
- Sift in cocoa, flour and salt. Fold with a spatula just until no dry pockets remain, scraping the bottom of the bowl. Do not taste the raw batter.
- Spread the thick batter evenly in the prepared pan. Bake for 22–28 minutes, checking at 22 minutes. The edges should be set, the center should not ripple, and a tester should emerge with moist crumbs rather than wet batter.
- Cool in the pan on a rack for at least 1 hour, or until fully cool. Lift out using the parchment and cut into 16 squares with a clean, sharp knife.